Fire building has long been a passion of mine. It's a foundational outdoor skill. It can save your life! But when it's not saving your life it can just plain make a camping trip. Who doesn't have fond memories of sitting around a campfire watching the embers glow.
There are conditions that make it hard to get a fire going and in the Pacific Northwest those conditions are here most of the year. It's almost always wet here. I'm going to share a few tips and tricks to help get a fire going in the wettest conditions.
In this video I'm using flint and steel (my favorite method of fire building), but these principles hold true for however else you want to get a flame.
I also talk about char cloth and ferro rod as a fire starting method. It's a more modern version of flint and steel. It's a very reliable and powerful fire starting method. We have two kits in our shop that make an excellent addition to any gear list.
The Colter Spark - Ferro Rod Char Cloth Kit:
The Colter Fire Piston:
Both come with char cloth kits and provide long term service in fire building. Great to throw into a day pack, bug out bag, or survival kit.
As a Boy Scout, I had the ten essentials drilled into my head from a young age. To this day I don't even go to work without a more urban friendly version of the 10 essentials with me. And it's come in handy. A co-worker recently had a wardrobe malfunction and I was able to save the day with the basic sewing kit thats in my first aid kit. He said "of course you have a sewing kit..." Be prepared, baby.
As I've grown up and see other people on the trail, I've realized that not everyone has had that same training. I see people pretty far into the wilderness with just a water bottle and a pair of sunglasses. I feel a bit nervous for them and that nervousness has in part been the reason I decided to write about this subject.
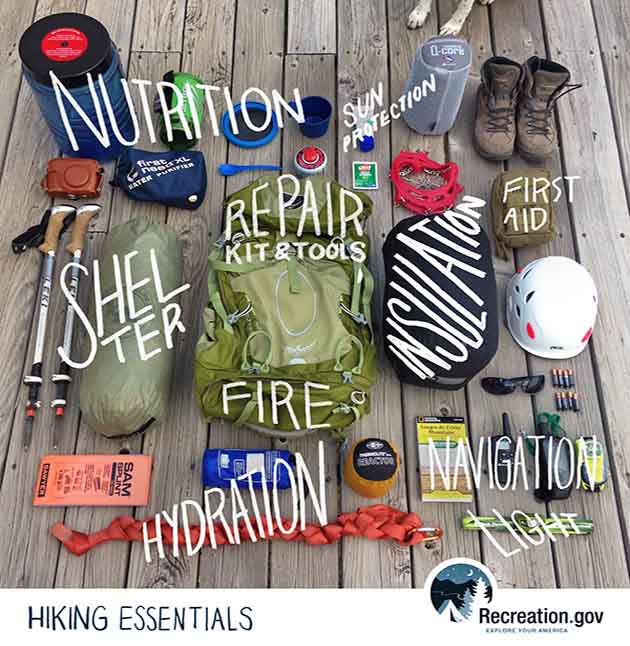
The 10 essentials was originally created by a mountaineering group from Seattle in the 1930's. It is one of those things that is pretty timeless, and I don't see it needing much updating. There is of course some flexibility in how to choose to fulfill each need. Navigation, for instance, has come a long way since the 30's, but the principle remains.
The 10 Essentials:
1. MAP & COMPASS
Although there are many ways to navigate, I prefer the old fashioned way. GPS is nice, but batteries die and technology sometimes fails. A good map is a great tool. Especially the new ones with water proof, tear proof paper. It does require learning the skills to use a map well, but they are skills that will make your use of a GPS unit that much better. It's always good to have the old paper back up, just in case.
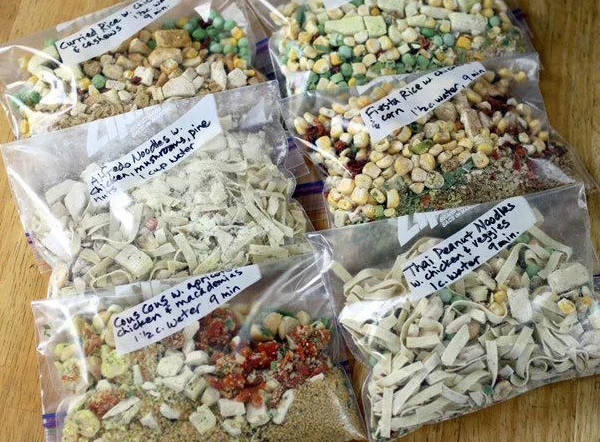
2. EXTRA FOOD
I generally bring enough food for the trip I'm planning on, and then an extra meal. Just in case. You never know when you might need (or want) to stay longer. What if you sprain your ankle and a 4 mile day hike suddenly takes an extra 6 hours to hobble back to the car? Make it high energy, high protein food like jerky, or trail mix.
3. HYDRATION
You can go three weeks without food, but only 3 days without water. Worst case scenarios aside, staying hydrated can help prevent other first aid emergencies like heat stroke, heat exhaustion, altitude sickness, and many more. Not to mention you'll just generally feel better and enjoy your trip more. Just don't go hiking without water.
4. EXTRA CLOTHES
Weather conditions can change pretty quickly. Especially if you are hiking for 4,000' to 10,000'. Or if you live in the Pacific Northwest. It's always only an hour away from raining around here. Best to carry a jacket or a poncho.
5. SUN PROTECTION
There are a lot of good ways to take care of this one. Sun screen, a hat, lip balm, long sleeves. To each their own. One of my favorite is a bandana. You can wrap it around your neck, or wear it pirate style if you forgot a hat. When it's a hot you can soak it in an ice cold creek first. Very refreshing.
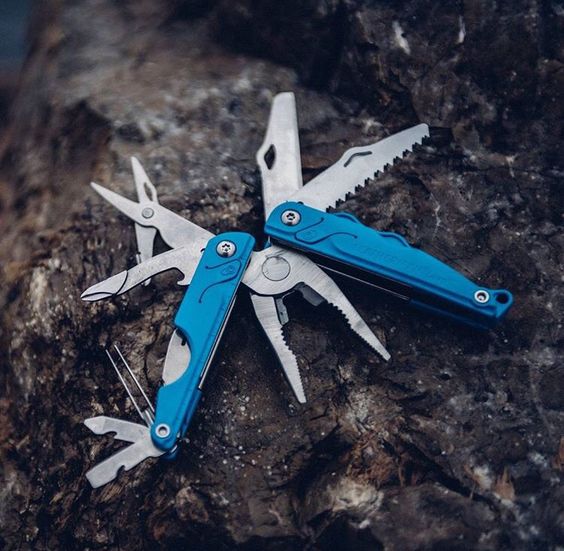
6. MULTITOOL & KNIFE
I would never go hiking without a knife. I don't really go anywhere without a pocket knife, though. Make sure it's a good, sharp one. I have a favorite knife, personally. The Mora Companion. It's inexpensive, and probably the best quality I knife I have owned. It's not often those go together. It is very utilitarian. It's not fancy or the sort of thing that knife collectors are going to drool over. But it will get the job done. And no, I'm not being paid to say that.
7. FIRE
Again, there are many ways to go about this one. Stick with what you are the most comfortable. Remember, if you are going to need it, it's probably going to be an emergency. I love starting fires the primitive way. Flint and steel is my favorite. But in a 10 essentials kit, I usually have a lighter.
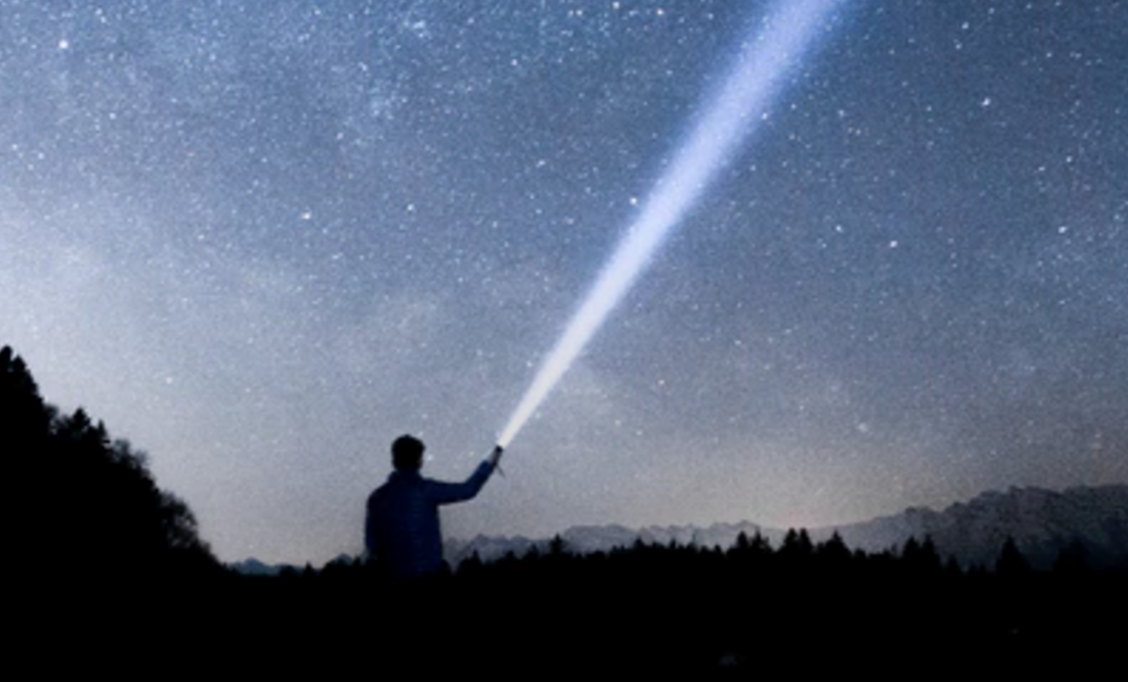
8. FLASHLIGHT
Lighting conditions change as quickly as weather conditions. An unexpected injury can add lots of time to a day hike. Make sure you don't get caught in the dark.
9. SHELTER
If you end up needing to stay the night unexpectedly, a shelter can be the difference between life and death. I'm not saying you should carry a 4 man tent with you where ever you go. But a space blanket can go a long way in an emergency. And they don't take up much more space than a deck of cards. A simple tarp and a length of paracord can make a lot of different shelters, as illustrated above. One might work better for you than another, depending on if you're working to stay warm, dry, or cool.
10. FIRST AID KIT
A first aid kit is another customizable thing depending on your personal needs. I suggest looking through yours every now and then to make sure you aren't of bandages and that the medications in it aren't 6 years expired.
Do you have a 10 essentials kit you take on day hikes, hunting trips, or general adventures? I'd love to hear if you have any specific items you won't leave home without.
Colter Co. is happy to announce the Know Your Knots Practice Rope Kit. The perfect, portable way to keep your knot tying skills fresh. The kit includes two 5' lengths of smooth quality climbing rope with a oiled tanned leather and brass utility strap, and a Know Your Knots bandana for reference. Throw it in your pack and practice around the campfire. Or on the bus. Or during a conference call (no one can see you over the phone.) Once you've mastered the 16 knots on the bandana you'll be able to tie your way out of just about any jam that comes your way.
This makes a great gift for a new scout, as a rank advancement gift, or to the diehard outdoorsy person in your life. I do believe there's a father's day coming up... Just saying
The internet is full of tips and tricks and gadgets. Half of which make me wonder if they really work. Some I know for a fact do not work. So before I repost anything I like to make sure it's legit. One I've been wondering about for a while is this diagram I found of a water filter tower made from 3 bandanas, and layers of grass, sand and charcoal.
On my last camping trip I decided to put it to the test. I did some modifications for my design. I wanted to limit it to one bandana, and simply layer the materials in that bandana. I did a base layer of sand, then rocks, then dry grass. MAJOR FUNCTIONALITY NOTE!!! This type of filter is NOT meant to make water safe to drink. It does not remove any kind of pathogens, or water born illness. It is meant to remove sediment making it easier to prepare for boiling or some other form of treatment.
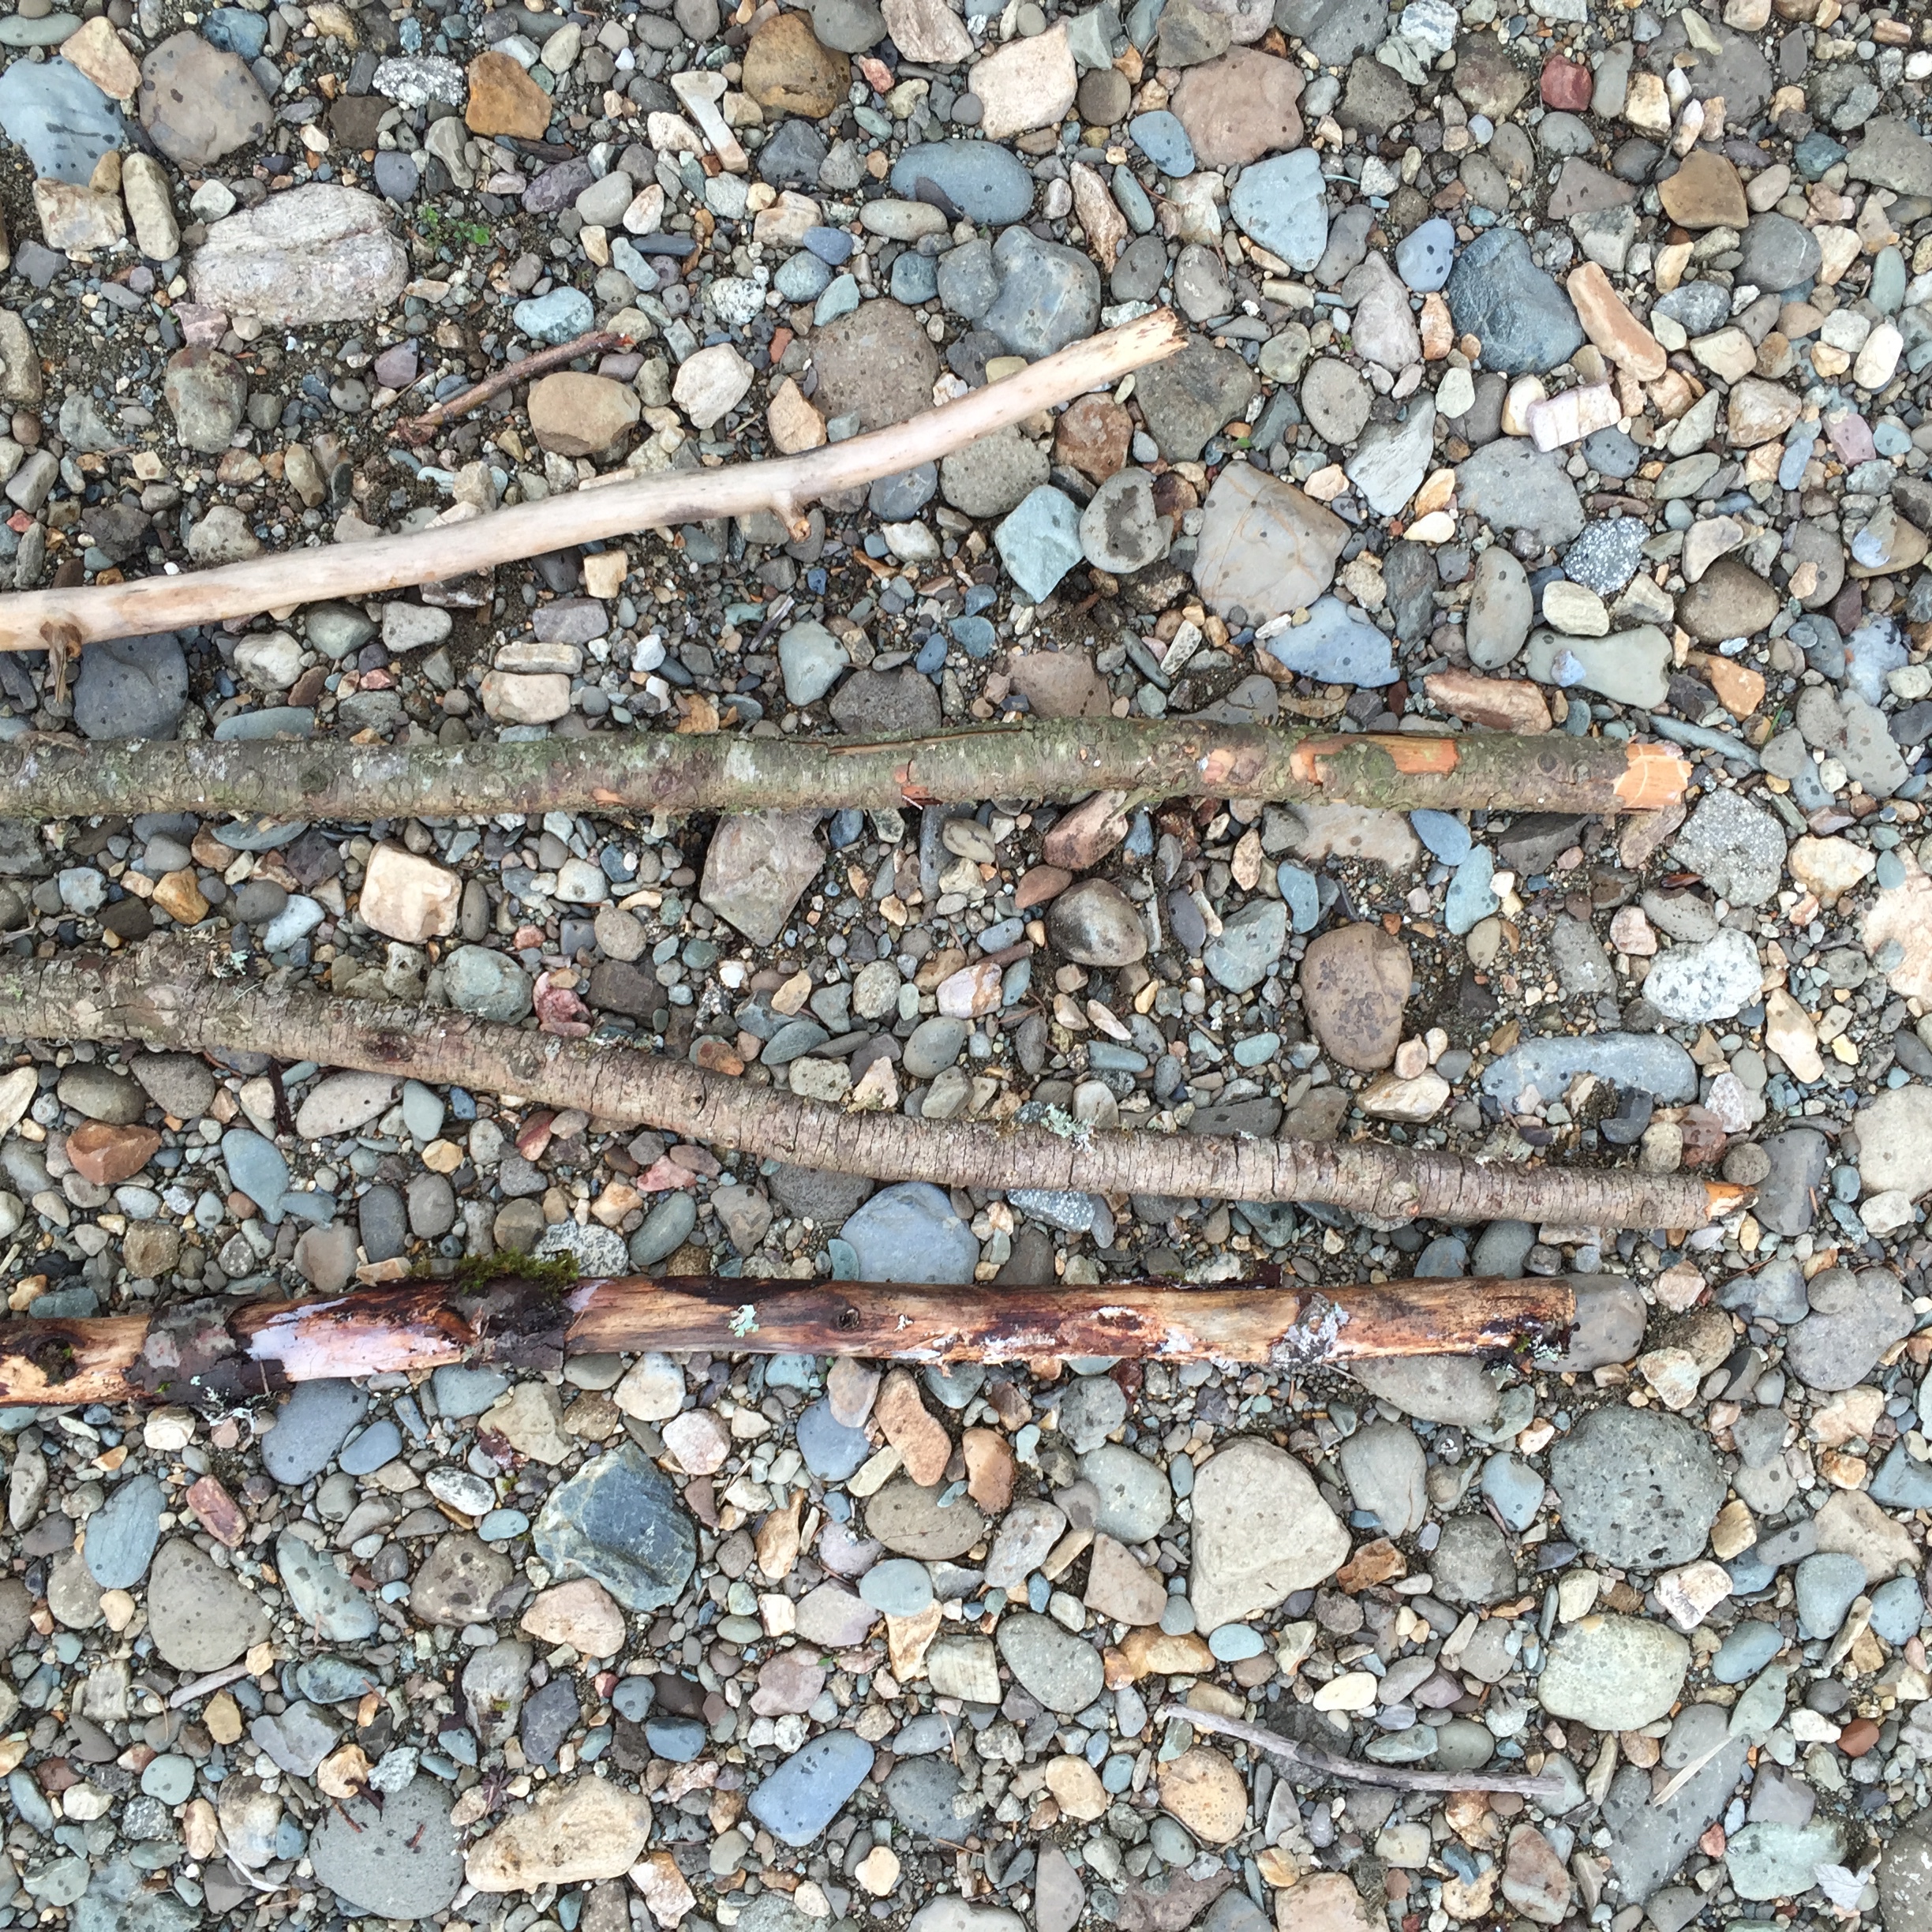
I started by making a 4 sided "quadpod". I make this the same way I would a tripod, but with an extra pole (for those really bad at math). Start with 4 equal length branches.
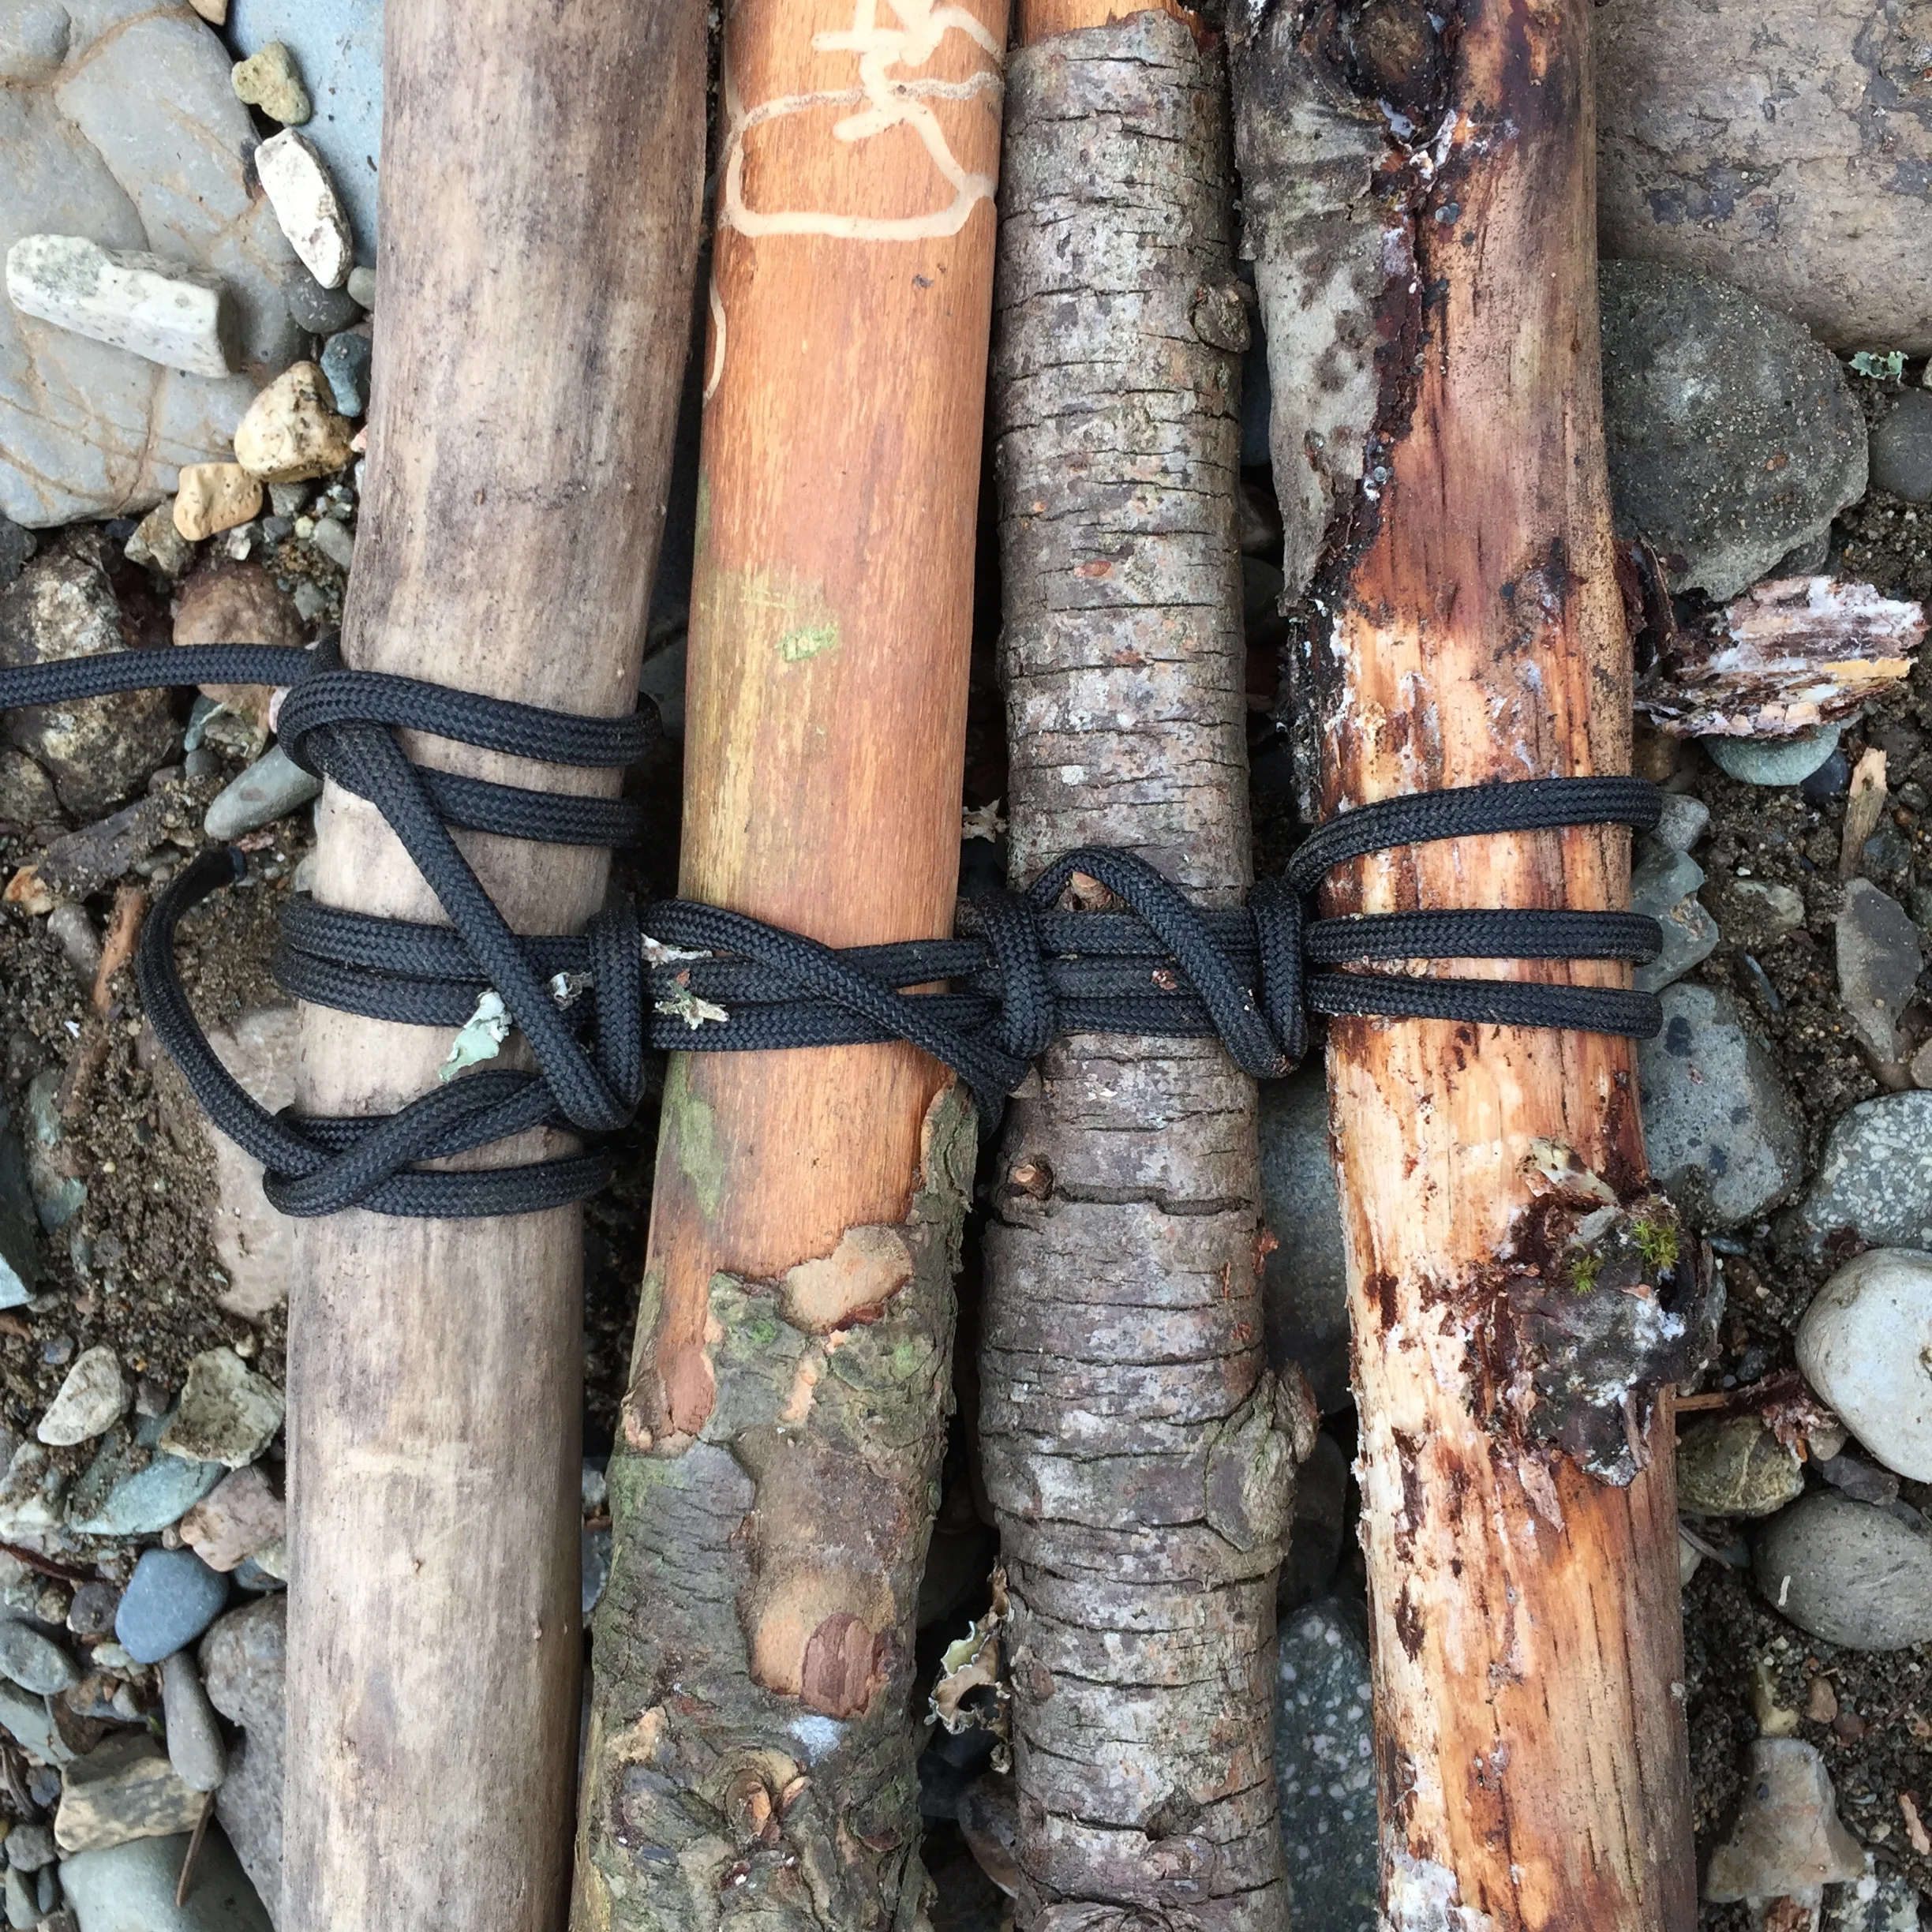
Tie a clove hitch around the first branch. Then weave the rope over and under the other branches. When you get the end, weave the rope back the other way. Do this 3-4 times. You can simply wrap the rope around the outside of all the branches, but the weaving method creates better friction and will hold better.
After that wrap the rope between each of the branches vertically to cinch down on the weave and tighten the whole thing up. This is called frapping. Then finish off with another clove hitch.
Then you can stand it up and space the branches apart. Tada! You've got a quadpod. This little structure has an endless list of uses. It can be used as the beginning of a shelter, or to hang a pot over a fire, as the starting point for a latrine or a dining table (don't get those two mixed up...). I could go on for ages.
To connect the bandana to the quadpod, I tied two half hitches around a small pebble in each corner of the bandana and tie the other end of each rope to a branch.
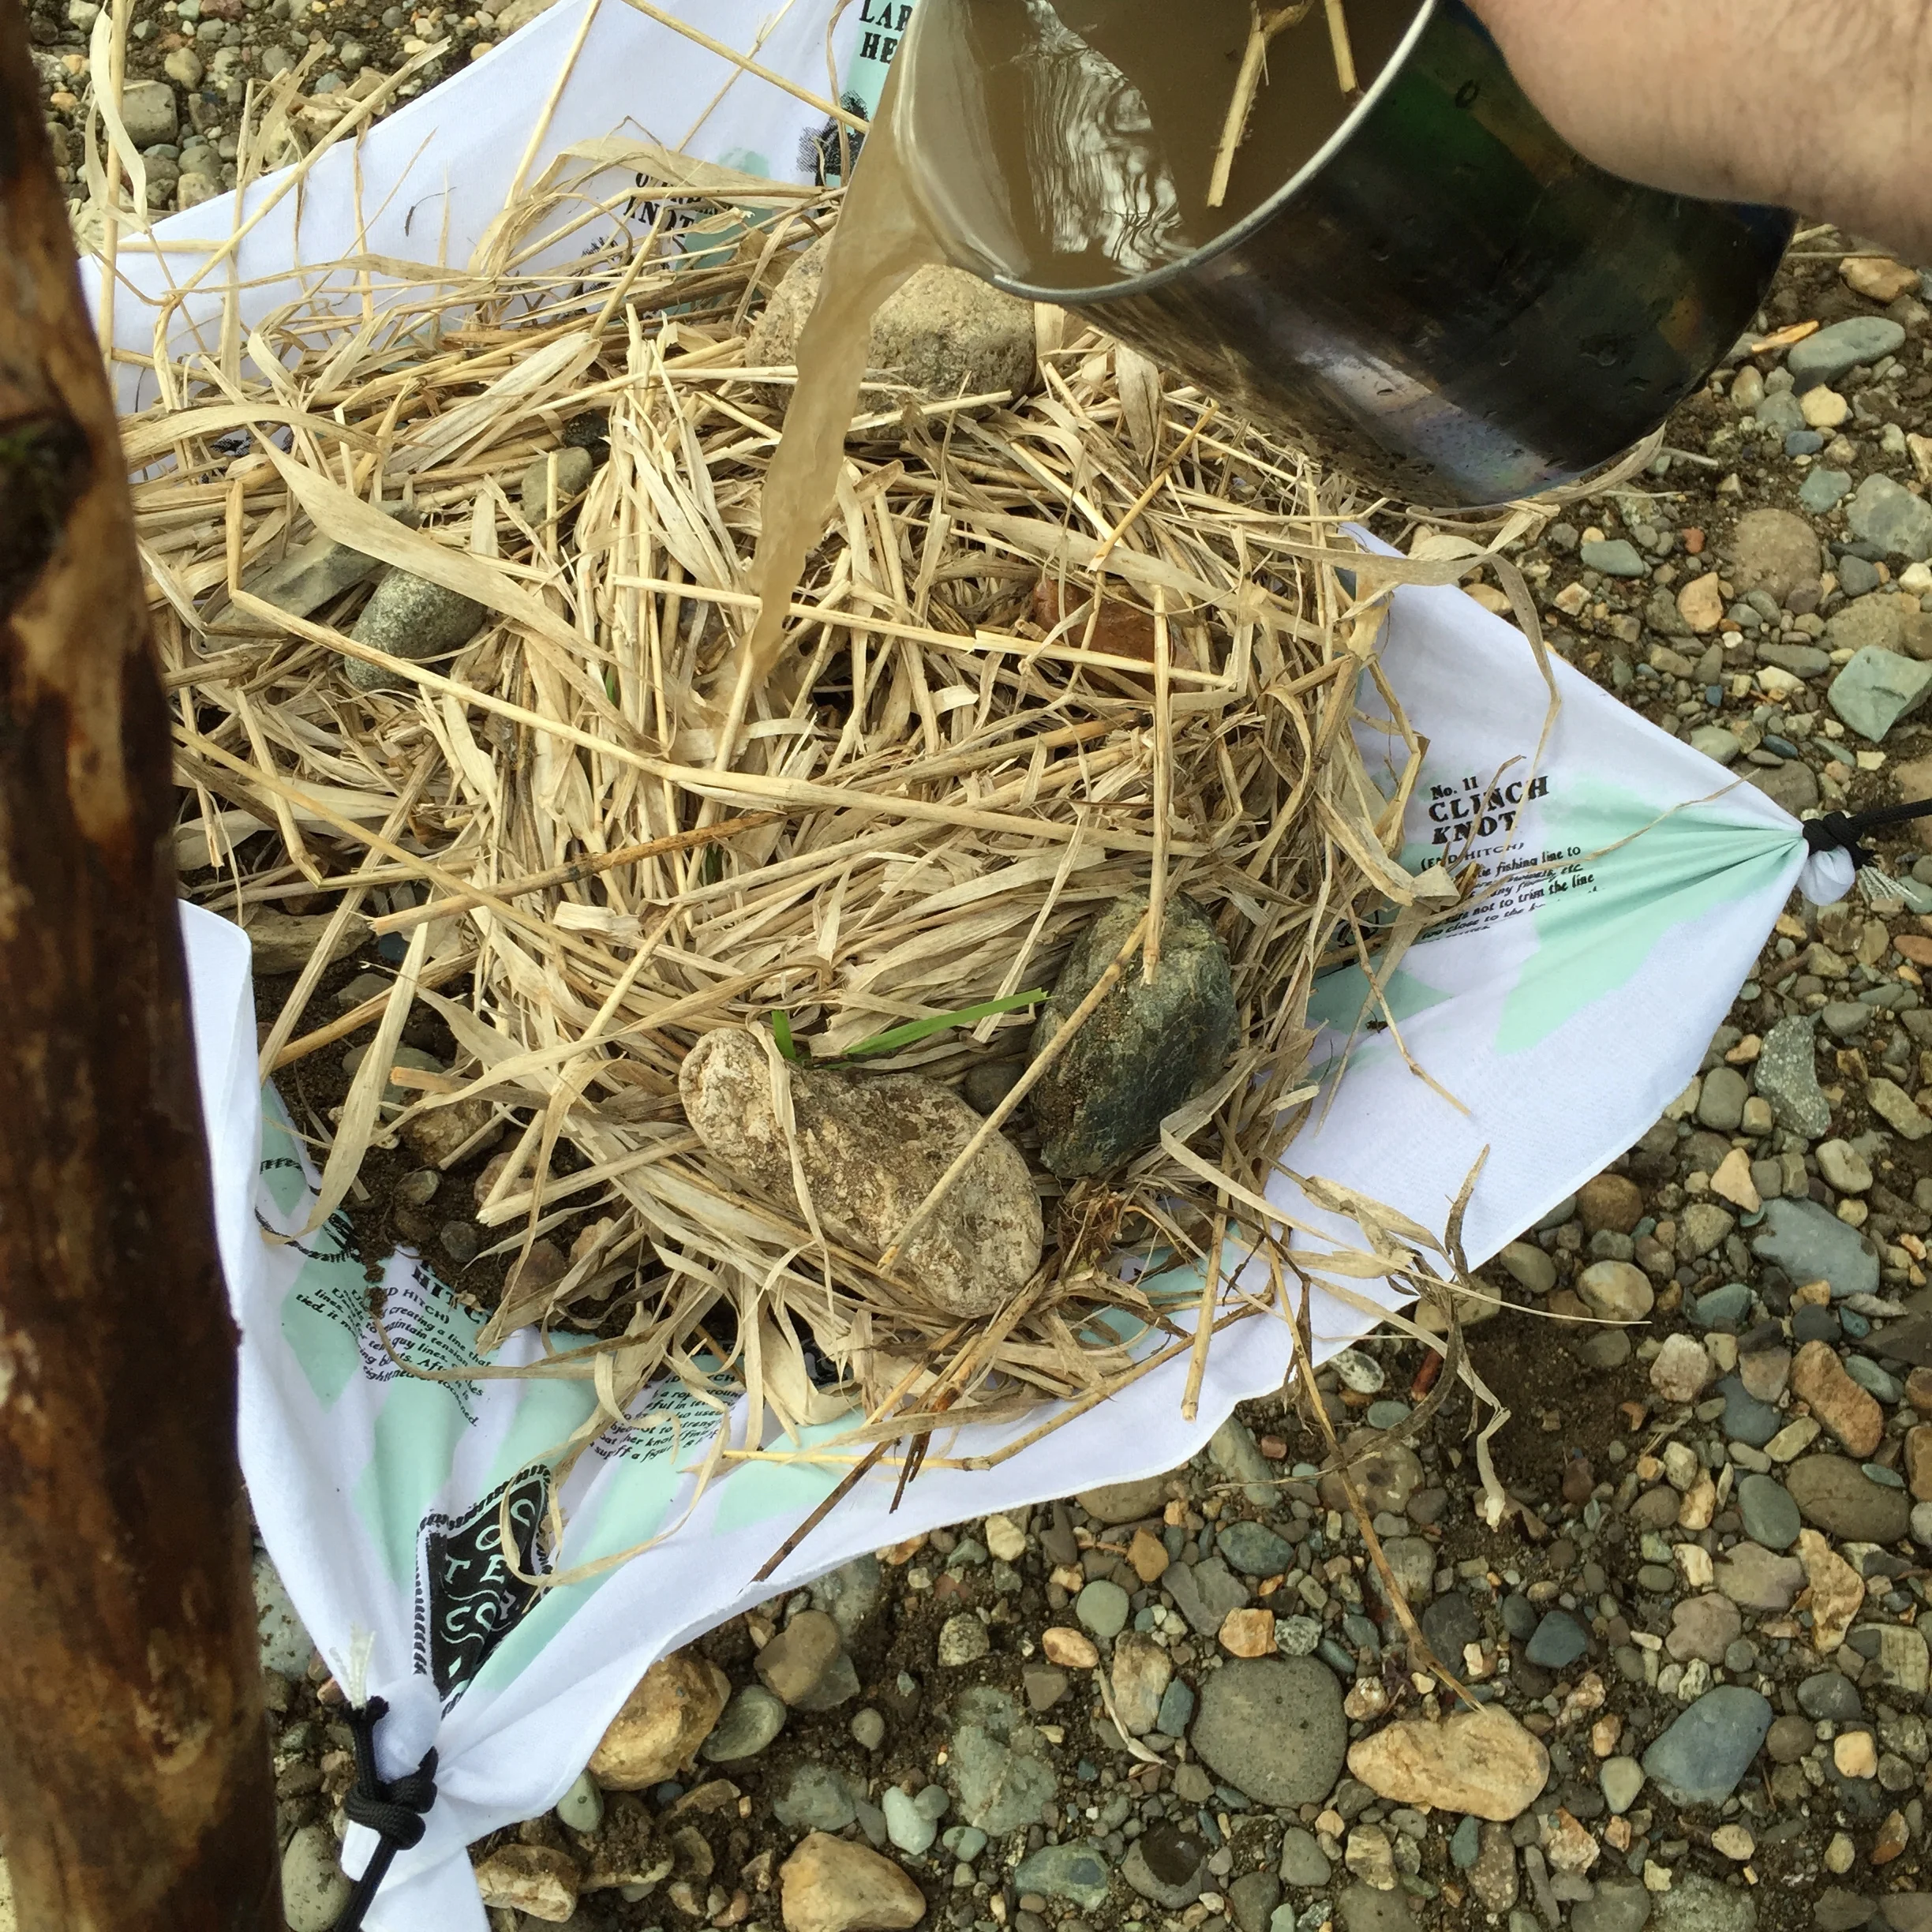
I am using our Know Your Knots bandana for this one (it does feature the two knots used to create this contraption.) At this point I started filling the bandana with fine sand, then gravel and last a thick layer of dry grass.
Next I grabbed some excessively gross water and poured it over the top of the grass.
Here's a clip of the filter in action. You can see there's a major difference in the before and after!
The results were good. I found that I needed to run the water through a few times to get most of the sediment out, but it was certainly effective. If I were to do it again (and I probably will) I would make sure to wash the sand ahead of time. I think a lot of the first couple runs were just washing the soil from the sand out. A triple layered version of this would be more effective, but would also take more time to set up.
I would love to hear about your experiences with anything like this.