This trail review was written by Becca Christlieb, an avid backpacker and explorer of the SW. She lives in Las Vegas and has visited a lot of the amazing places nature has to offer in that area.
Zion National Park is one of my most favorite places in the world to visit. It has amazing beauty anytime of the year. We decided to hike some trails on the 14th of Feb. Usually, there is a significant amount of snow this time of year, but thanks to an unseasonably warm year in the Southwest, hiking Zion was PERFECT.
We decided to do a trail that was a little less traveled, and less-known, which was the East Rim Trail.
Zion has a shuttle system in place that adds about 45 minutes to travel time to get to the trail head, but thanks to hiking in the off-season, we were able to drive straight to the trail head.
We started hiking in the late morning and headed up a series of long switchbacks until we essentially made it up the top of the canyon wall. Ignoring the turn off for the Hidden Canyon trail, we continued with the long switchbacks and enter into a small slot canyon.
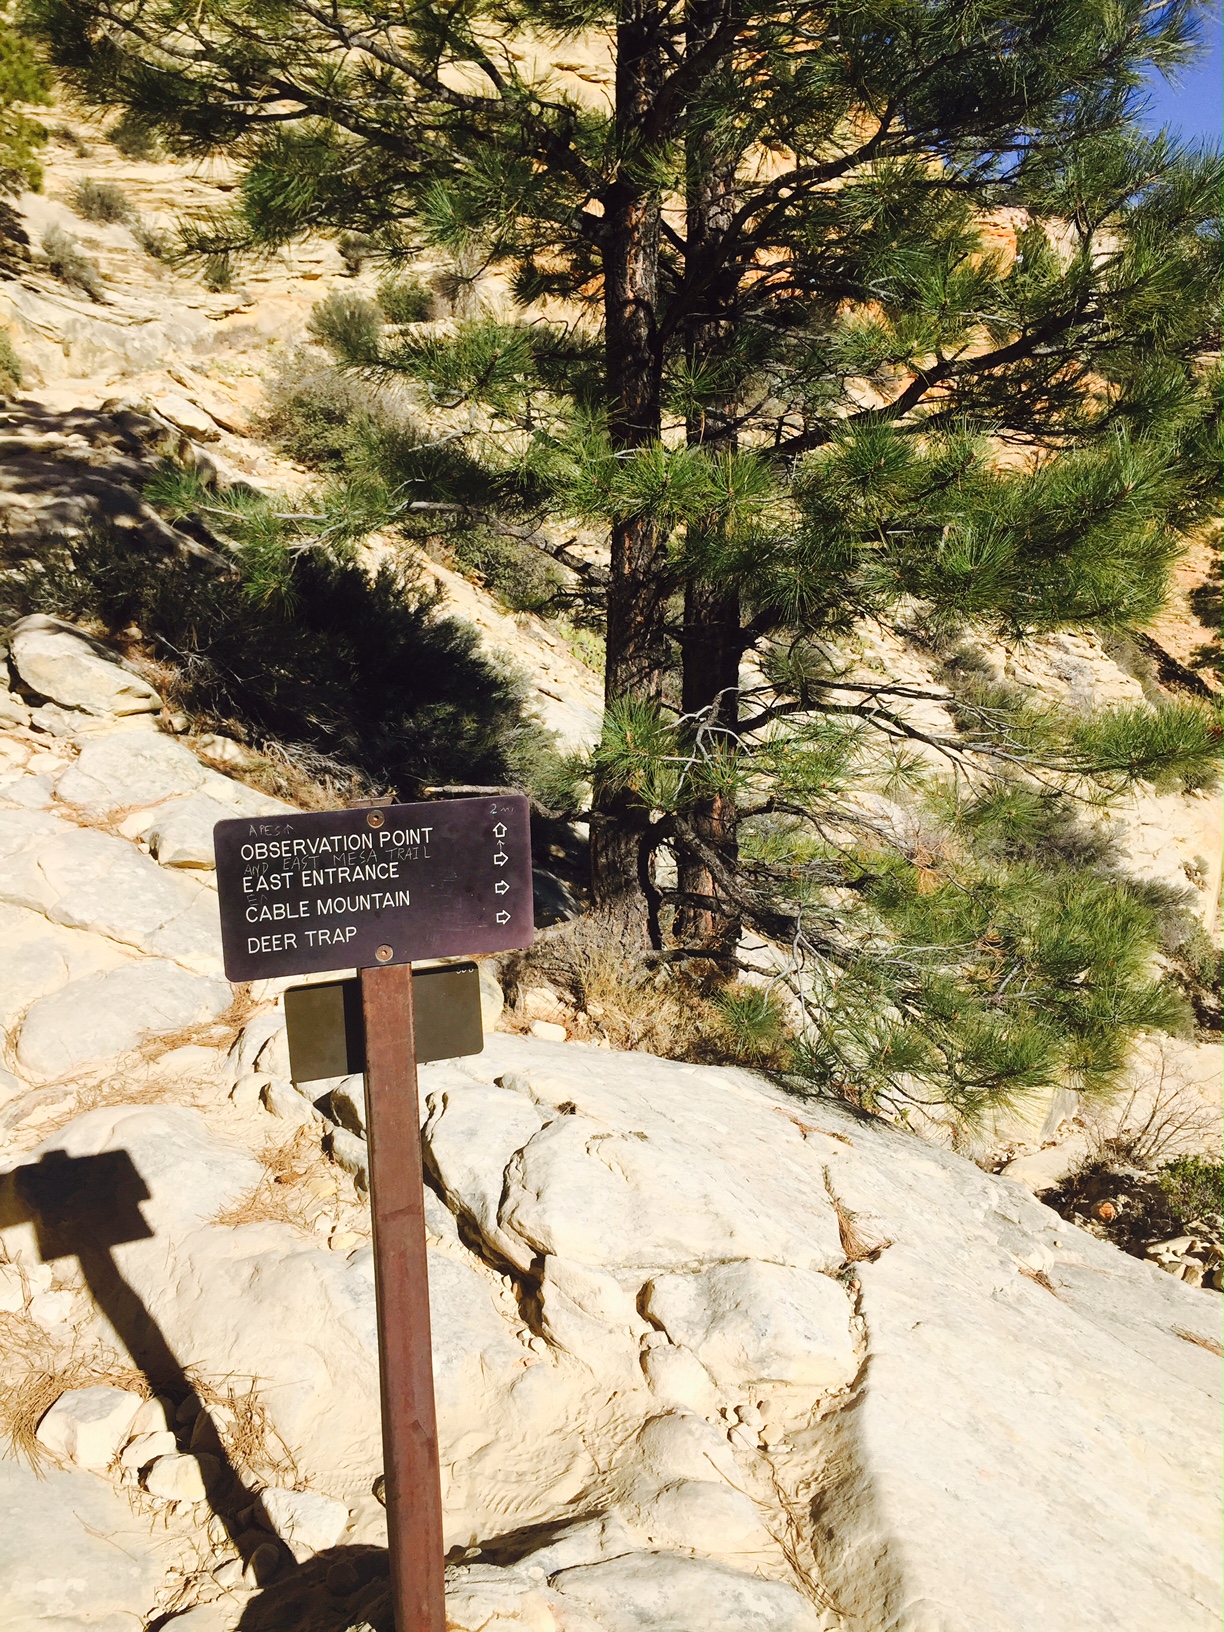
Hiking through the slot canyon, and across a bridge we came upon a trail marker.
The trail for the East Rim isn't obvious, and there was a man sitting right next to the sign who informed us that the sign was not the correct turn off. (He was wrong.) After hiking up the wrong trail for about 3/4 of a mile, we realized we had received the wrong information, we headed back down the trail and hooked onto the actual East Rim trail. We then crossed over a volcanic field with cairns as trail markers. This part of the hike is relatively flat compared to the previous switch backs.
The "flat" portion of the trail soon gives way to another switchback section. This time, it is wooded and view of the high white cliffs become more visible.
Finally, (and it is quite the climb), we reached the top of the cliff to even more amazing views.
From here, the hike is very flat and easy. We chose to go further on the trail for about another mile and sat down for a meal of spaghetti. Having forgotten our utensils, we improvised with sticks and rocks. I broke the rocks down to a manageable size.
The trail continues on for several miles to Jolley Gulch and eventually the East Entrance, but we chose to head back the way we came in. The views with the lighting on the way down were spectacular.
Thank you, Becca, for a wonderful trail review and some breathtaking photos.
Methods of fire building have long been a fascination of mine. I tend to gravitate towards the more traditional options. The bow drill option is about as traditional as it gets. But it's not as easy as it may seem. Conditions and materials really have a huge influence on your success rate with the bow and drill. I wanted to share this video as a very good, detailed look at the bow and drill material choice, technique, and what to do once you have a good ember. It is long... but it's worth it. Hope you enjoy.
Paracord is all the rage right now. It's strong, light weight and comes is all kinds of colors and patterns (for the aesthetically minded). It's usefulness goes beyond it's basic form. If you deconstruct it you'll see that it is made of a durable outer sheath, several smaller strong cords (they get their strength from being bundled together), and one twisted black and white strand thin enough to sew with. The dozens of uses for each of these parts makes this rope very desirable to have around. Especially in an unexpected emergency.
Enter the survival bracelet. I'm sure you've seen them around. The draw being that you can carry somewhere around 10' of cord with you on your wrist in the form of a bracelet (depending on the style). If a situation arises that requires rope, you simply take it apart.
Of course you can do more than just make bracelets. I have seen all kinds of things made out of paracord. The benefit of the longer items is that they hold a lot more cord. A good rule of thumb is about a foot per inch. You can do the math.
Here are some of my favorite project tutorials. Hopefully you find something that will inspire you to get your knot on! Click the images to get to the tutorial.
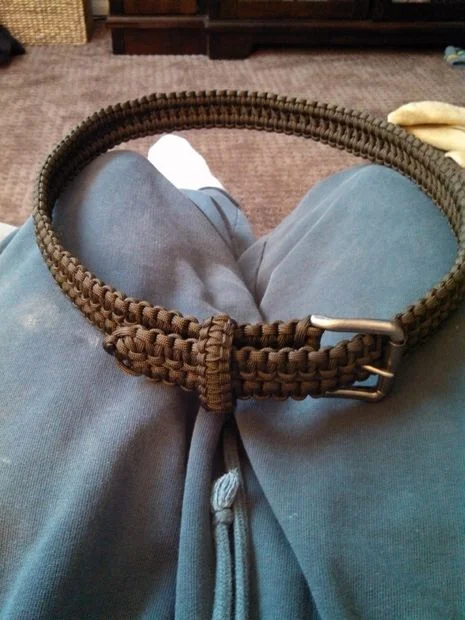
#1 Paracord belt
#2 Paracord dog leash
#3 Paracord hammock
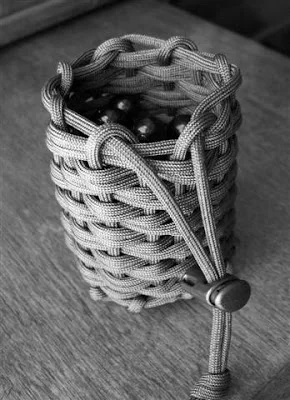
This one isn't so much an everyday carry item, but it looks fun!
#4 Paracord bottle wrap
Like most of these projects, the applications of these techniques can be applies in many different forms.
#5 Paracord bracelet
You've got to include the classic bracelet in a top 5 list. This link has some great instructional videos.
There are many many different knots and patterns that are used to create this sorts of items. The results are varied. Some simple and some very intricate and beautiful. There's a whole paracord world out there waiting for you...
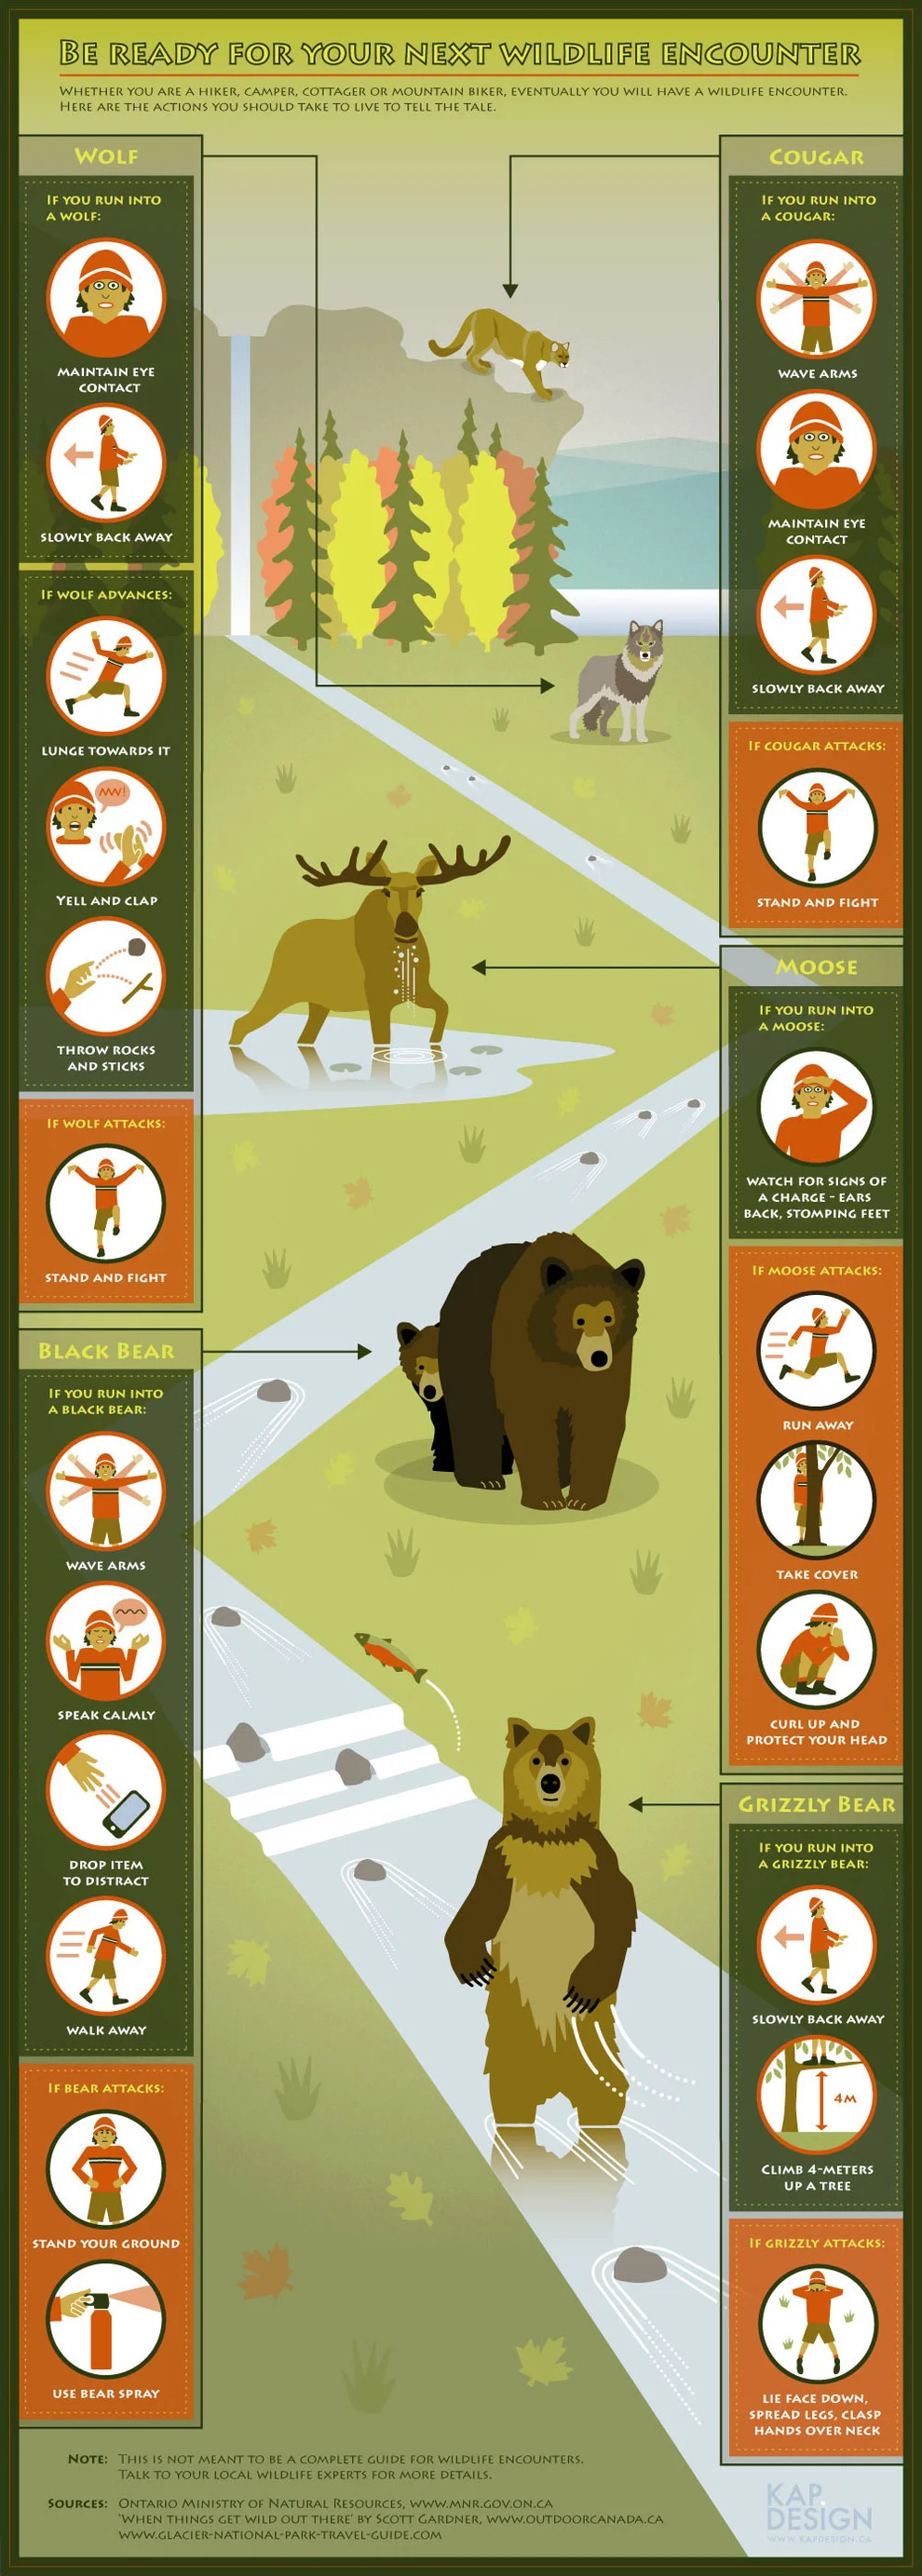
I've personally never been charged by a grizzly or any other deadly beast. I wouldn't mind going to the grave without the experience, but you never know what the future holds. This handy graphic will help you decide ahead of time what do to do in the event of an encounter. Spoiler alert! Running in terror is not recommended for any kind of encounter. Except maybe squirrel.