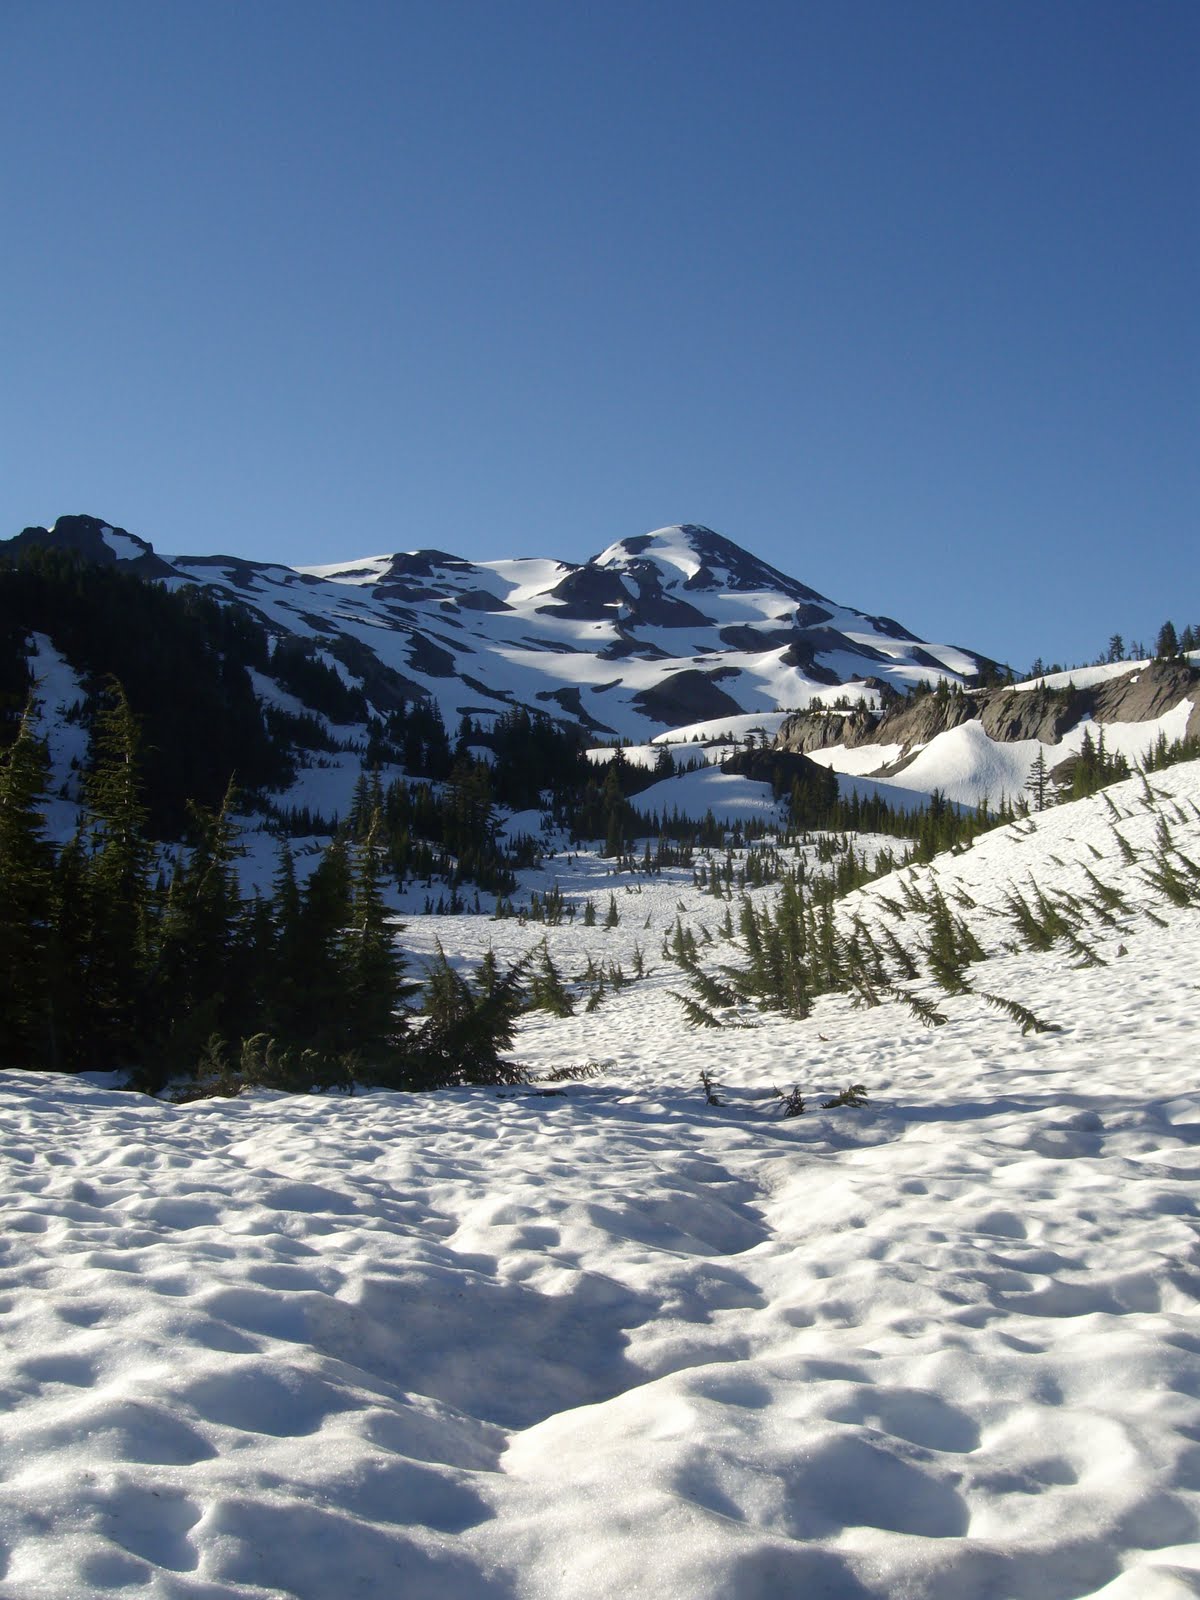
A few years ago I had the chance to lead a group of Scouts on a 50 mile hike through the Three Sisters Wilderness area in Central Oregon. This hike offers an incredible variety of terrain and truly breathtaking scenery. The main attractions are North Sister, Middle Sister and South Sister. But Mt. Bachelor, Broken Top, Mt. Washington and Three Fingered Jack are all visible along the trek. All these peaks are extinct or dormant volcanos which makes the trip interesting for anyone interested in geology. We found football sized chucks of obsidian at one point near the trail.
We started out on the Pacific Crest Trail near Dee Wright Observatory on highway 242. The first stretch is over barren volcanic rock as far as the eye can see. After a few miles you get into trees with a few beautiful lakes along the trail. The trail goes around cinder cones as it climbs up and around the Three Sisters.
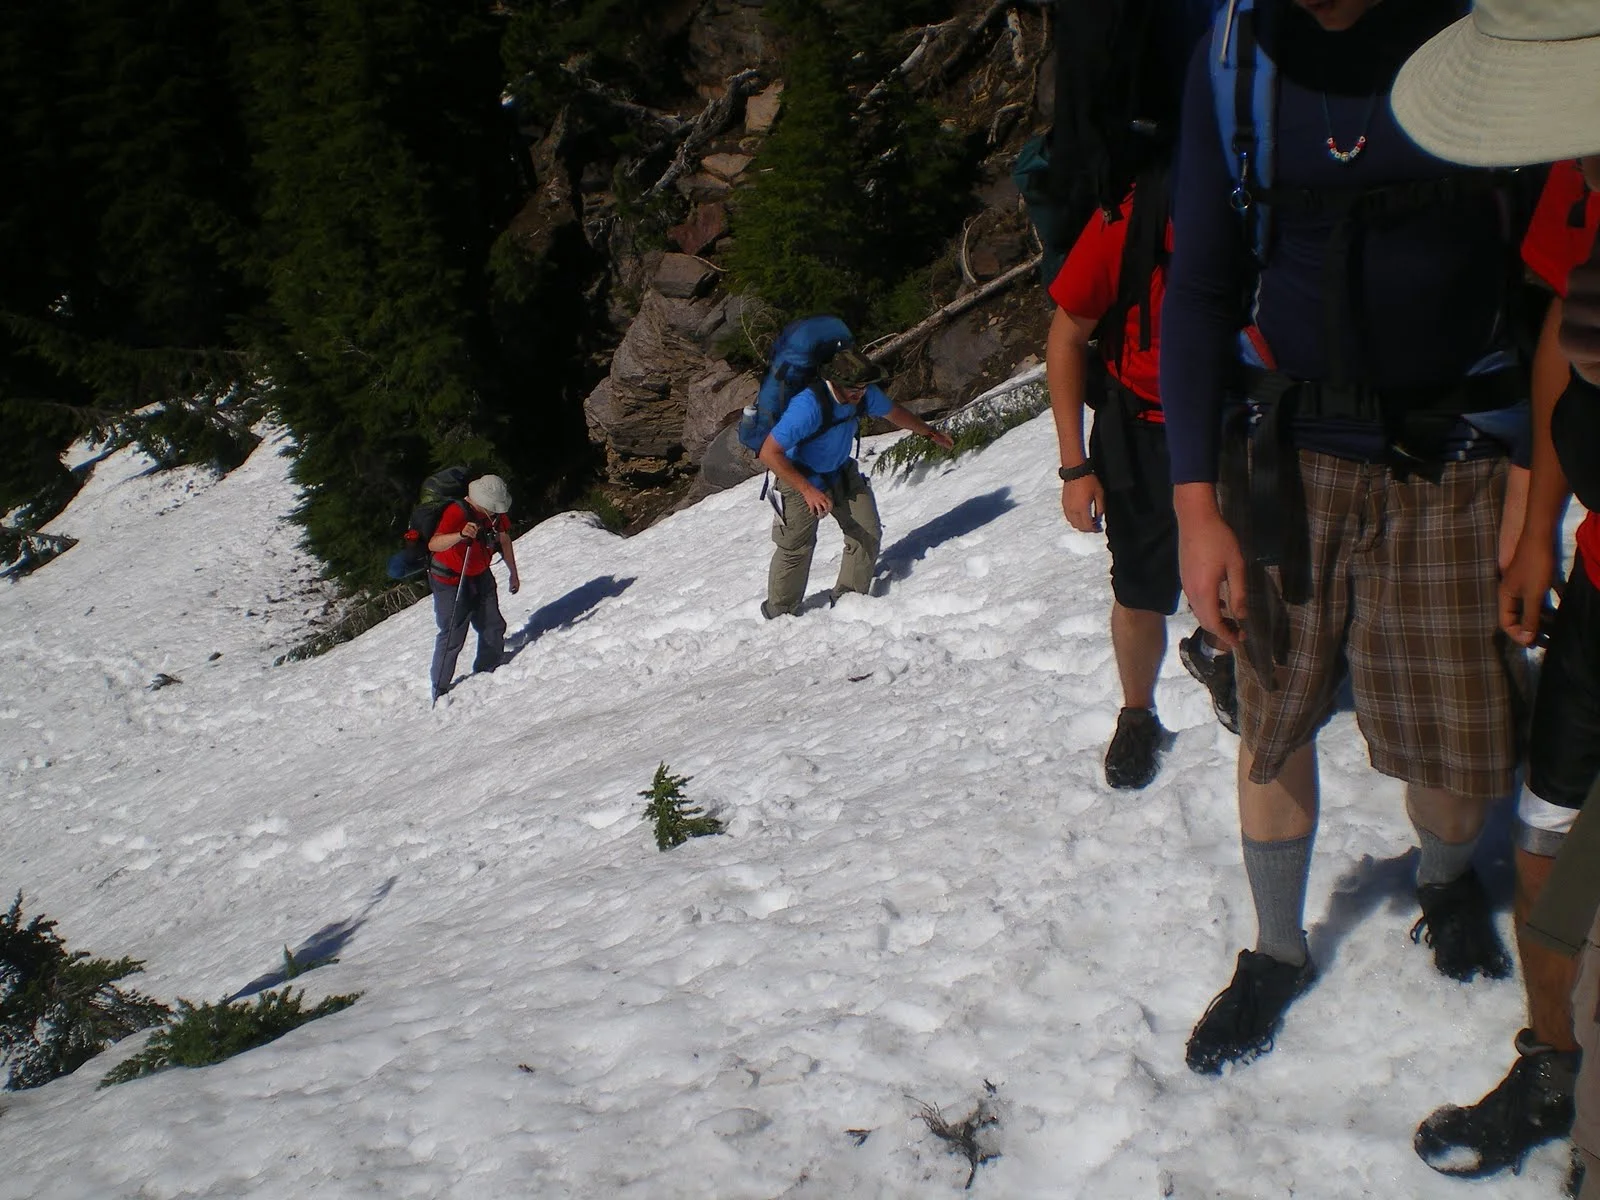
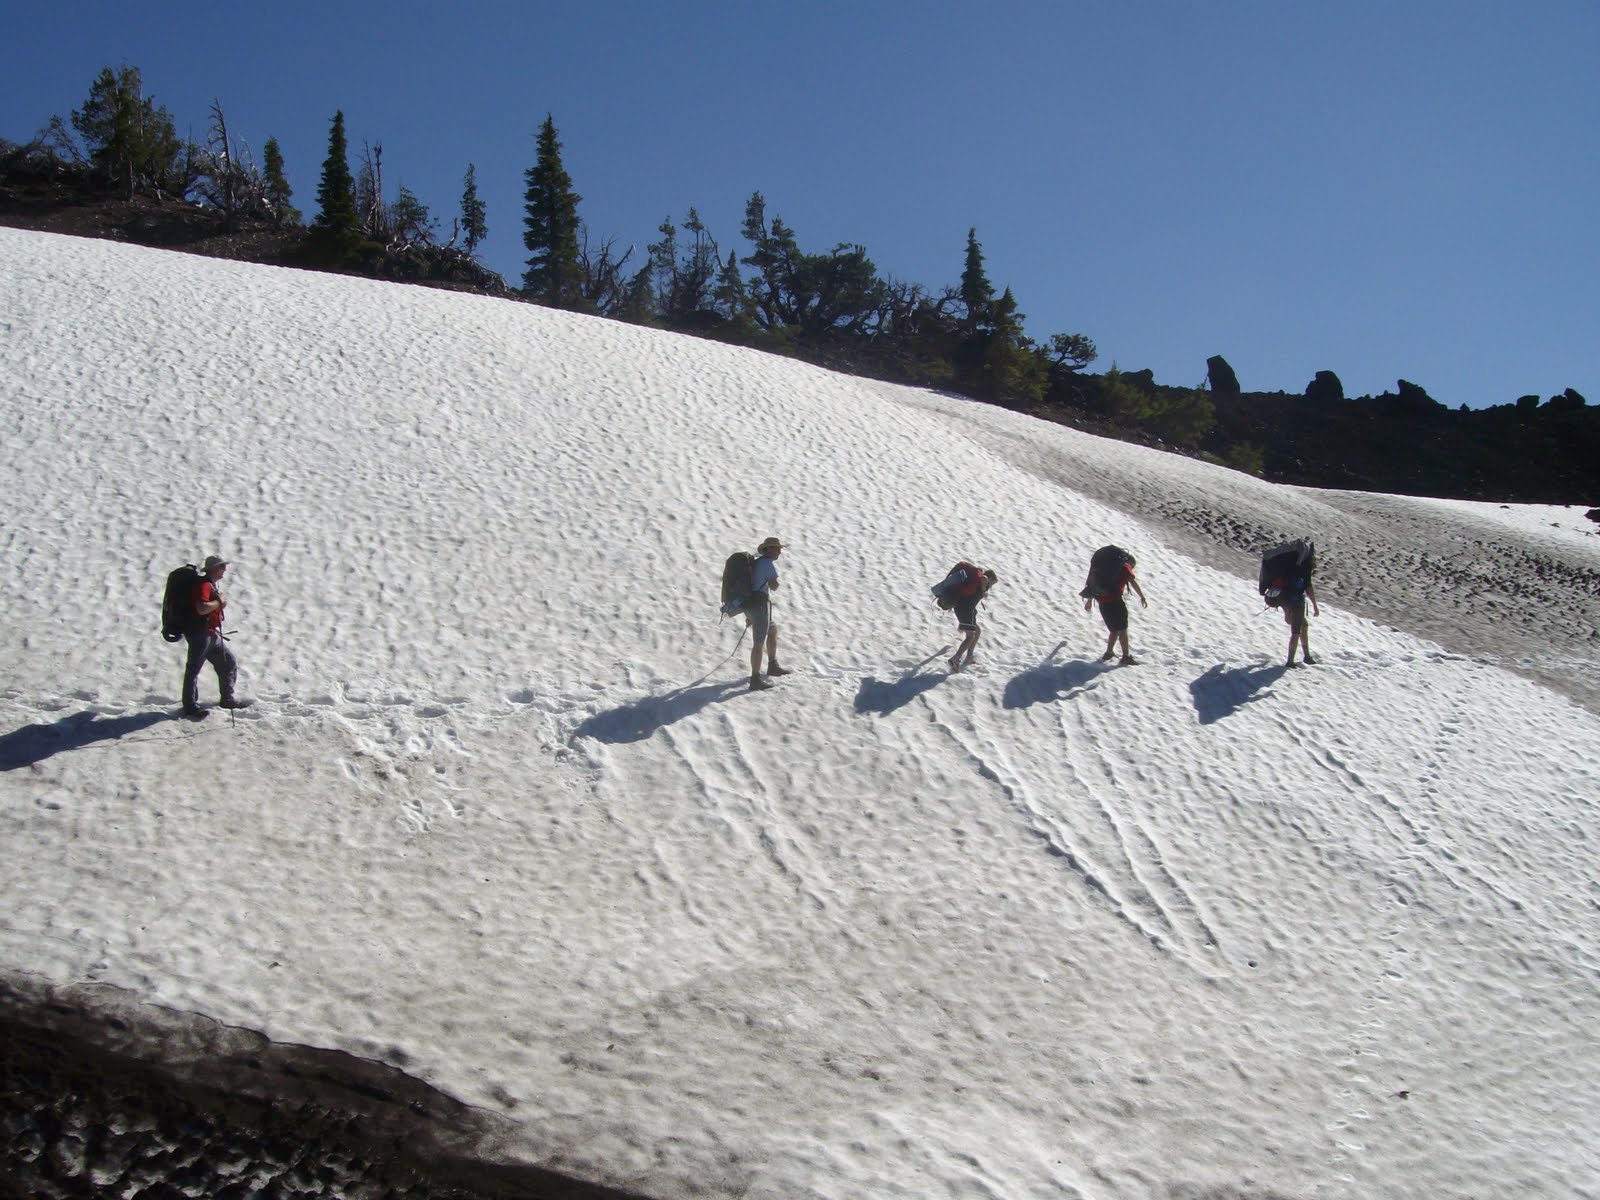
The year we went was a very late winter. We ended up hiking a day and a half through snow, navigating by map and compass to stay on course. It was exhausting but incredibly beautiful. We met another group of hikers in a little flat area. They make the trip every year around that same time and had never seen that much snow before. The area that was still under 2-3 feet of snow usually featured a grassy meadow and wildflowers fed by a small spring.
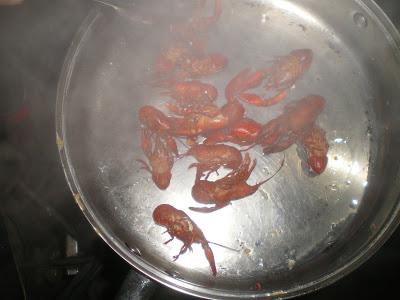
We made our way down out of the snow and wound around South Sister, past the cow pie (a giant lava flow coming off South Sister. You’ll know why it’s called that when you see it,) and ended up at Elk Lake. We hit a couple other lakes in the area which provided a substantial craw daddy dinner on evening. Delicious!
I would highly recommend this stretch of trail. Although it would have been easier later in the year when the snow was melted (we went in the middle of July) it was absolutely beautiful with the snow. If you do go in the snow, make sure you know how to navigate! Also a spot doesn’t hurt (http://www.findmespot.com/en/). We certainly had one for the trip.
Let me know if you’ve hiked the area, or have any other suggestions in the area.
I've been teaching knot tying for years. As a Boy Scout you have to pass off certain knots to make rank advancements. Right off the bat I took a liking to knot tying and learned all the required knots and more. As a proactive knot learner I was the default assistant to the scout master in helping the other scouts. Since then I've been teaching as a scout master myself, and as a father. Here are a few of the things I've learned in the process.
#1 Start simple.
Tying knots is easy for some people and not so easy for others. Because of their three dimensional nature, they can really mess with your head (this is also why it's good to learn knots. It's excellent for the old noodle). Start with simple knots to build confidence. If you dive straight into advanced knots it's going to be frustrating and discouraging.
#2 Practice makes permanent.
It's not enough to tie a knot right one time. Once the person you are teaching ties it right, have them do it again. And again, and again. Then come back to it in an half hour to tie it a few more times. Then the next day. Then in a week. I still like to review knots every now and then to stay fresh.
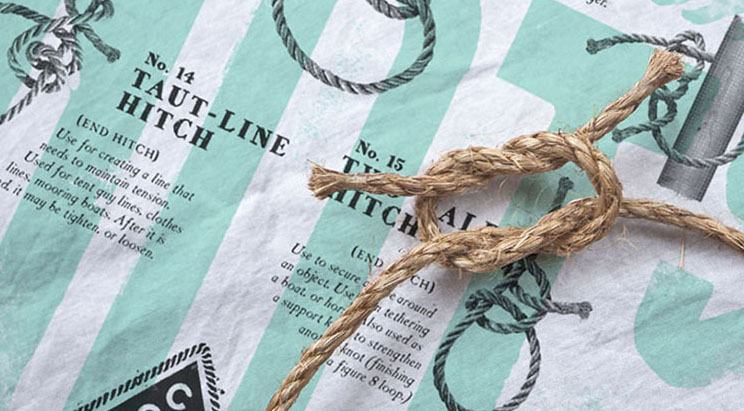
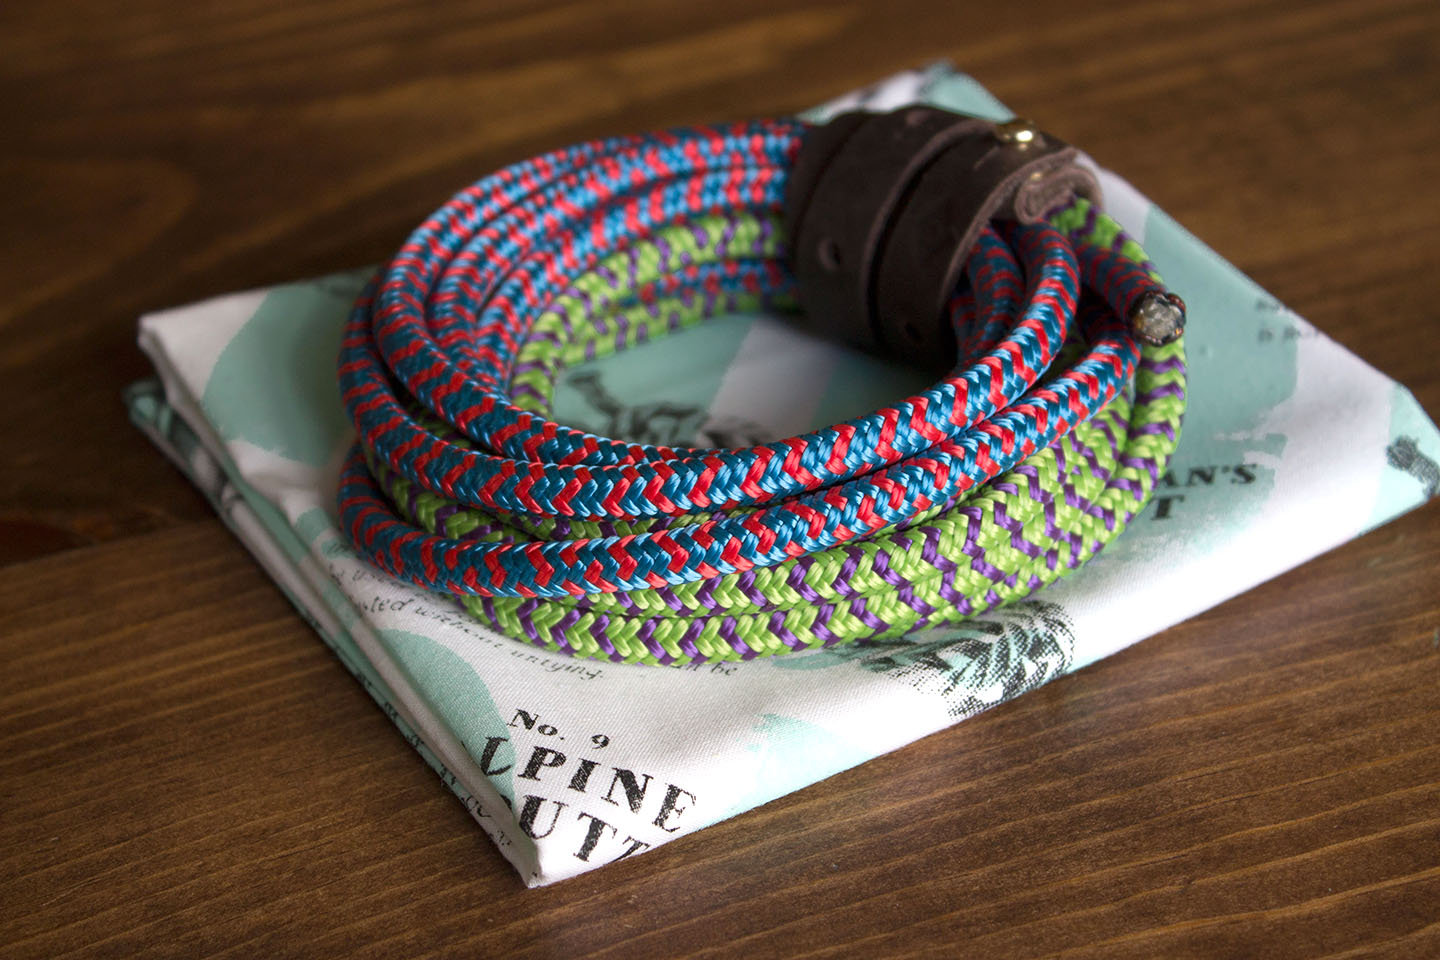
We developed a kit to help make practice more convenient. It starts with our Know Your Knots bandana which includes the to 16 knots for general outdoor use. That's paired with a set of 5' quality climbing ropes to practice with. They come in two different colors to help you see each part of the knot more clearly. These ropes are a pleasure to tie with and help relieve some of the frustration of learning knot tying. You can get your kit here.
#3 Make it fun.
When my youngest son was 4 we started playing the "untie that knot" game. I would take a 6' length of climbing rope (we have many floating around the house for just such a purpose) and tie the gnarliest rats nest I could. Then we would time him to see how long it took him to untie it. He loves the game. It may not be knot tying, but it's helpful in learning how knots work. It's also less stressful since it doesn't require him to create anything specific.
#4 Make it relevant.
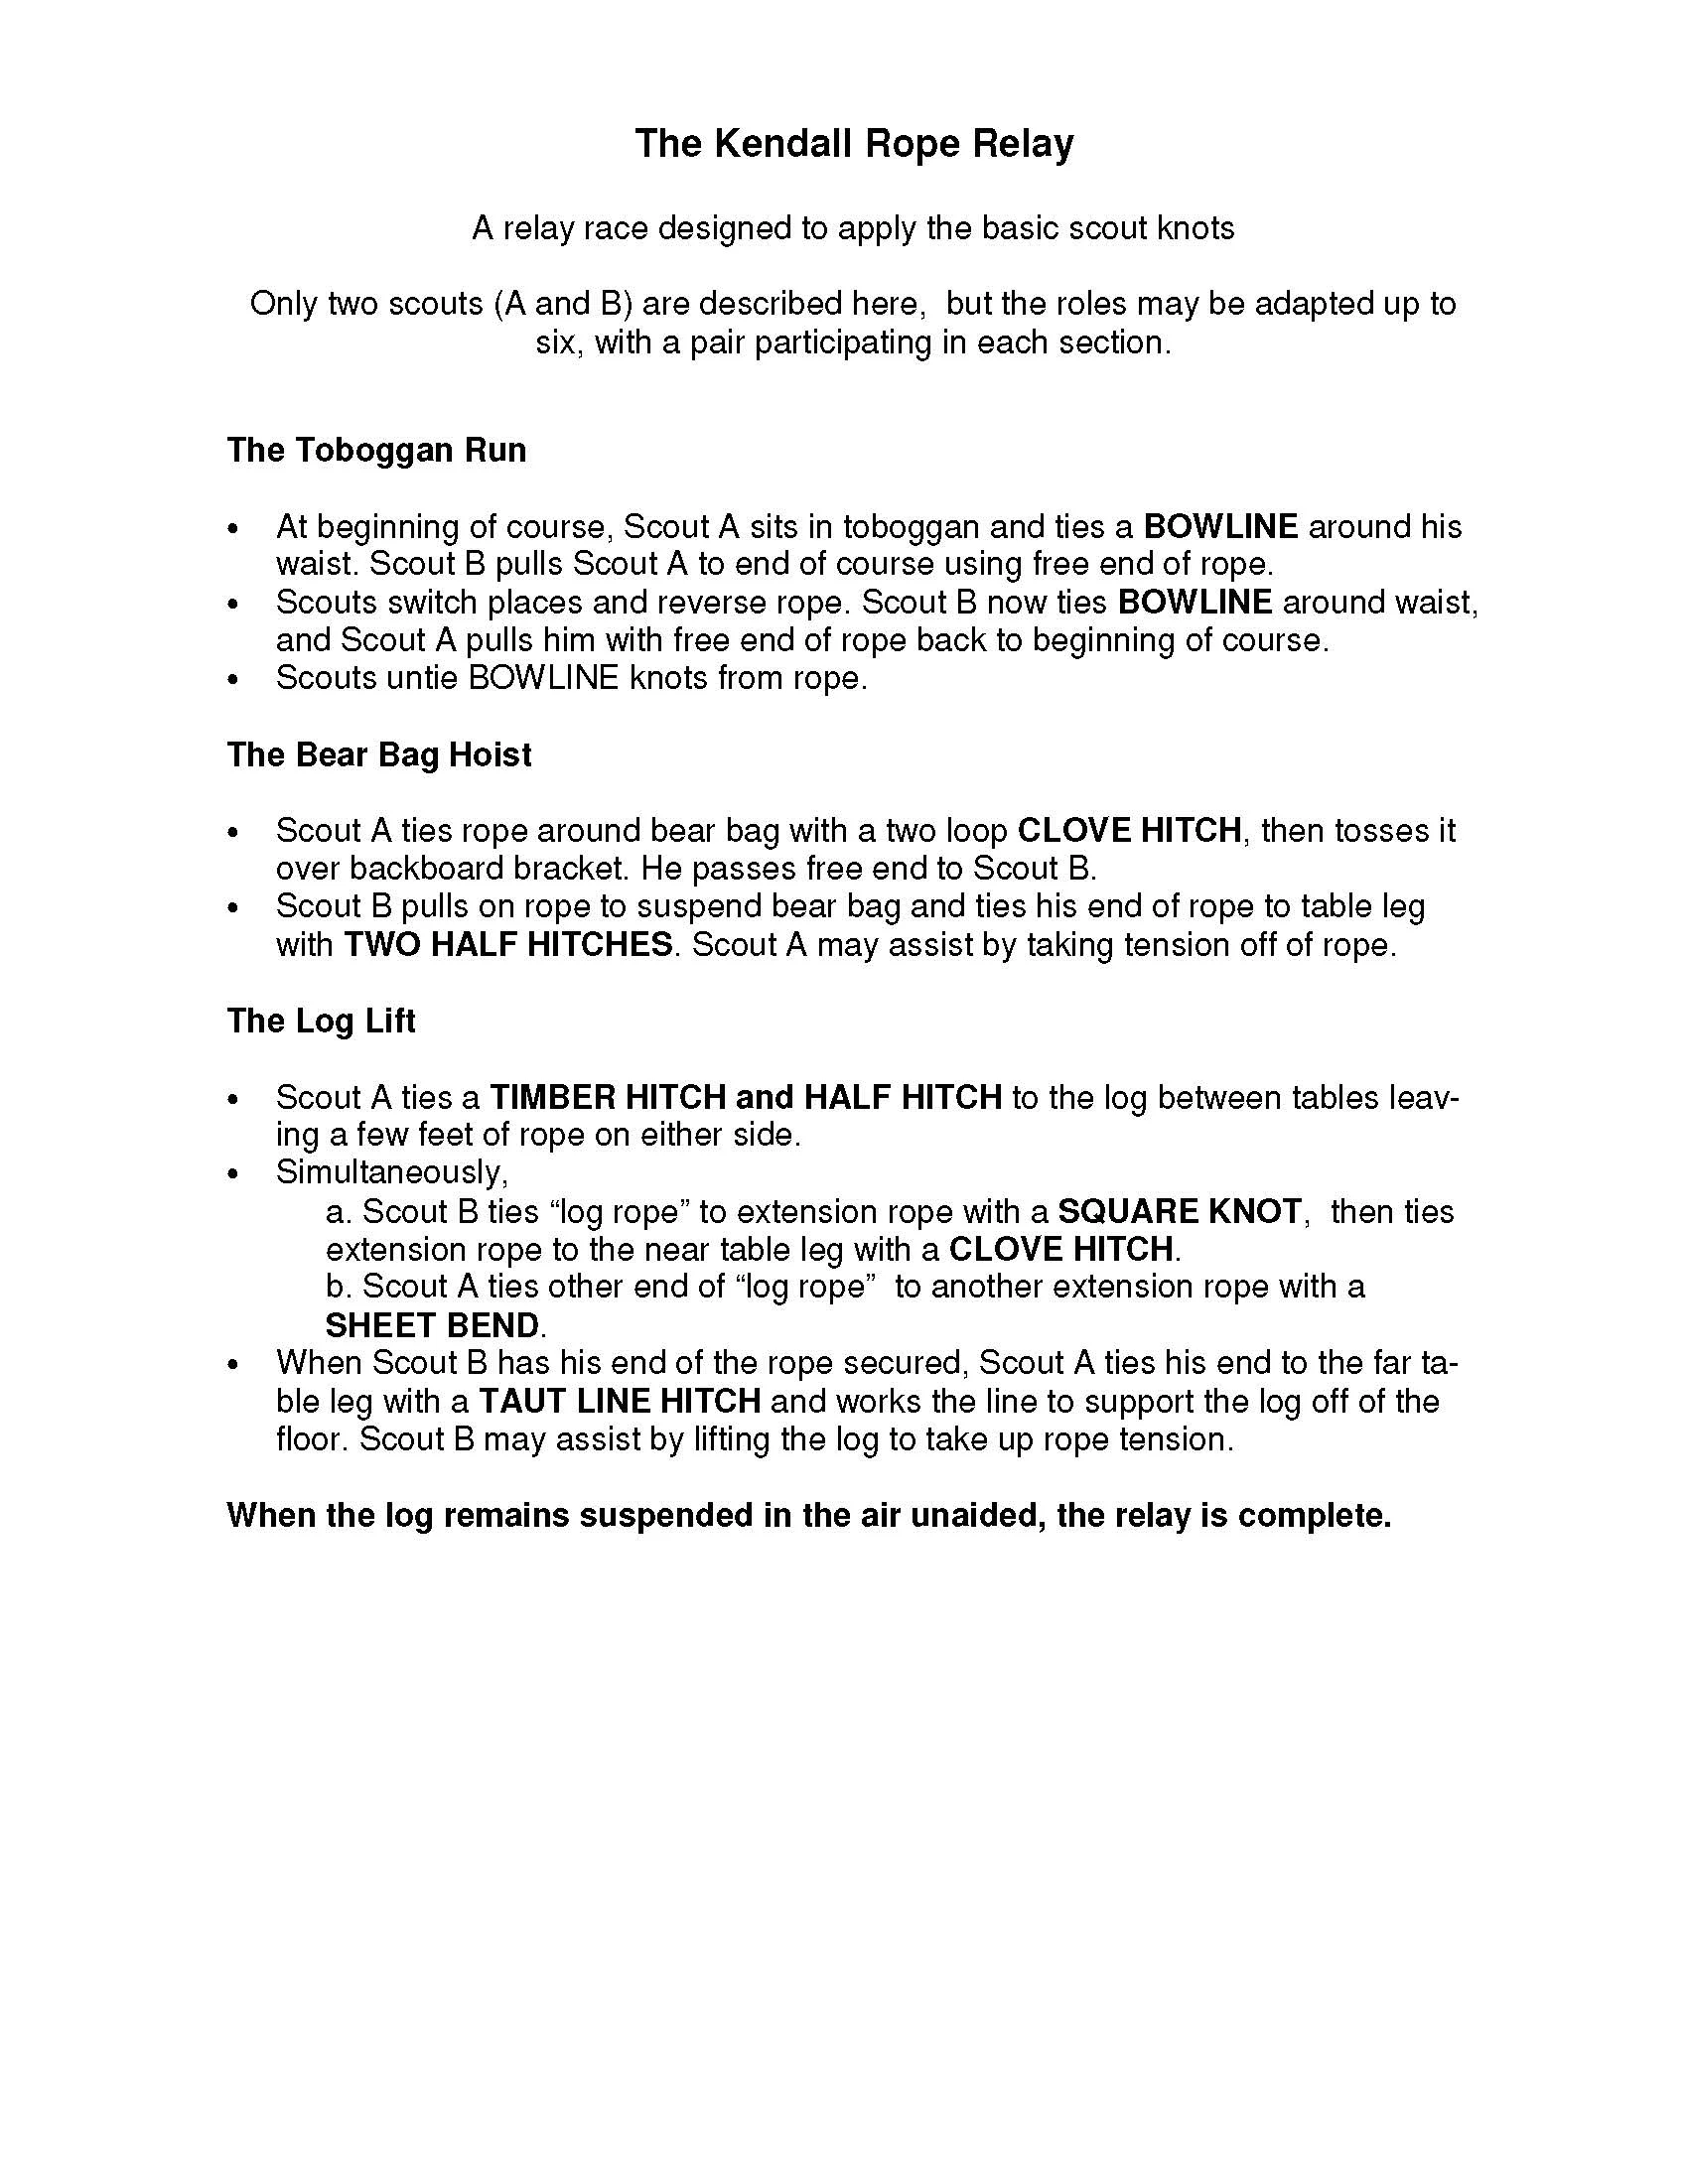
It's always easier to learn if you understand the context. I hated math until I got to geometry where you can see what it is you are trying to achieve. Then I only sort of hated it. When you are teaching knots it helps to teach why it's important to know them. I once has a scout tell me that the only knot he thought he would ever need to know was how to tie his shoes (pretty much the same way I felt about math in high school). But as an adult I have used knots and algebra, and I'm glad I know both. My dad (also a scout master) developed a knot relay to help put knots into context. He's been kind enough to let me share that here.
One of my favorite parts of being in the woods has always been the challenge of creating usable objects from natural resources. It requires creativity to make due with what nature provides. There are an abundance of materials available in nature that make things easier, if you know how to use them. Pine sap is one of them. There are a million ways you can use pine sap, and eventually I plan on talking about more of them. But for now I will focus on the pine sap lamp.
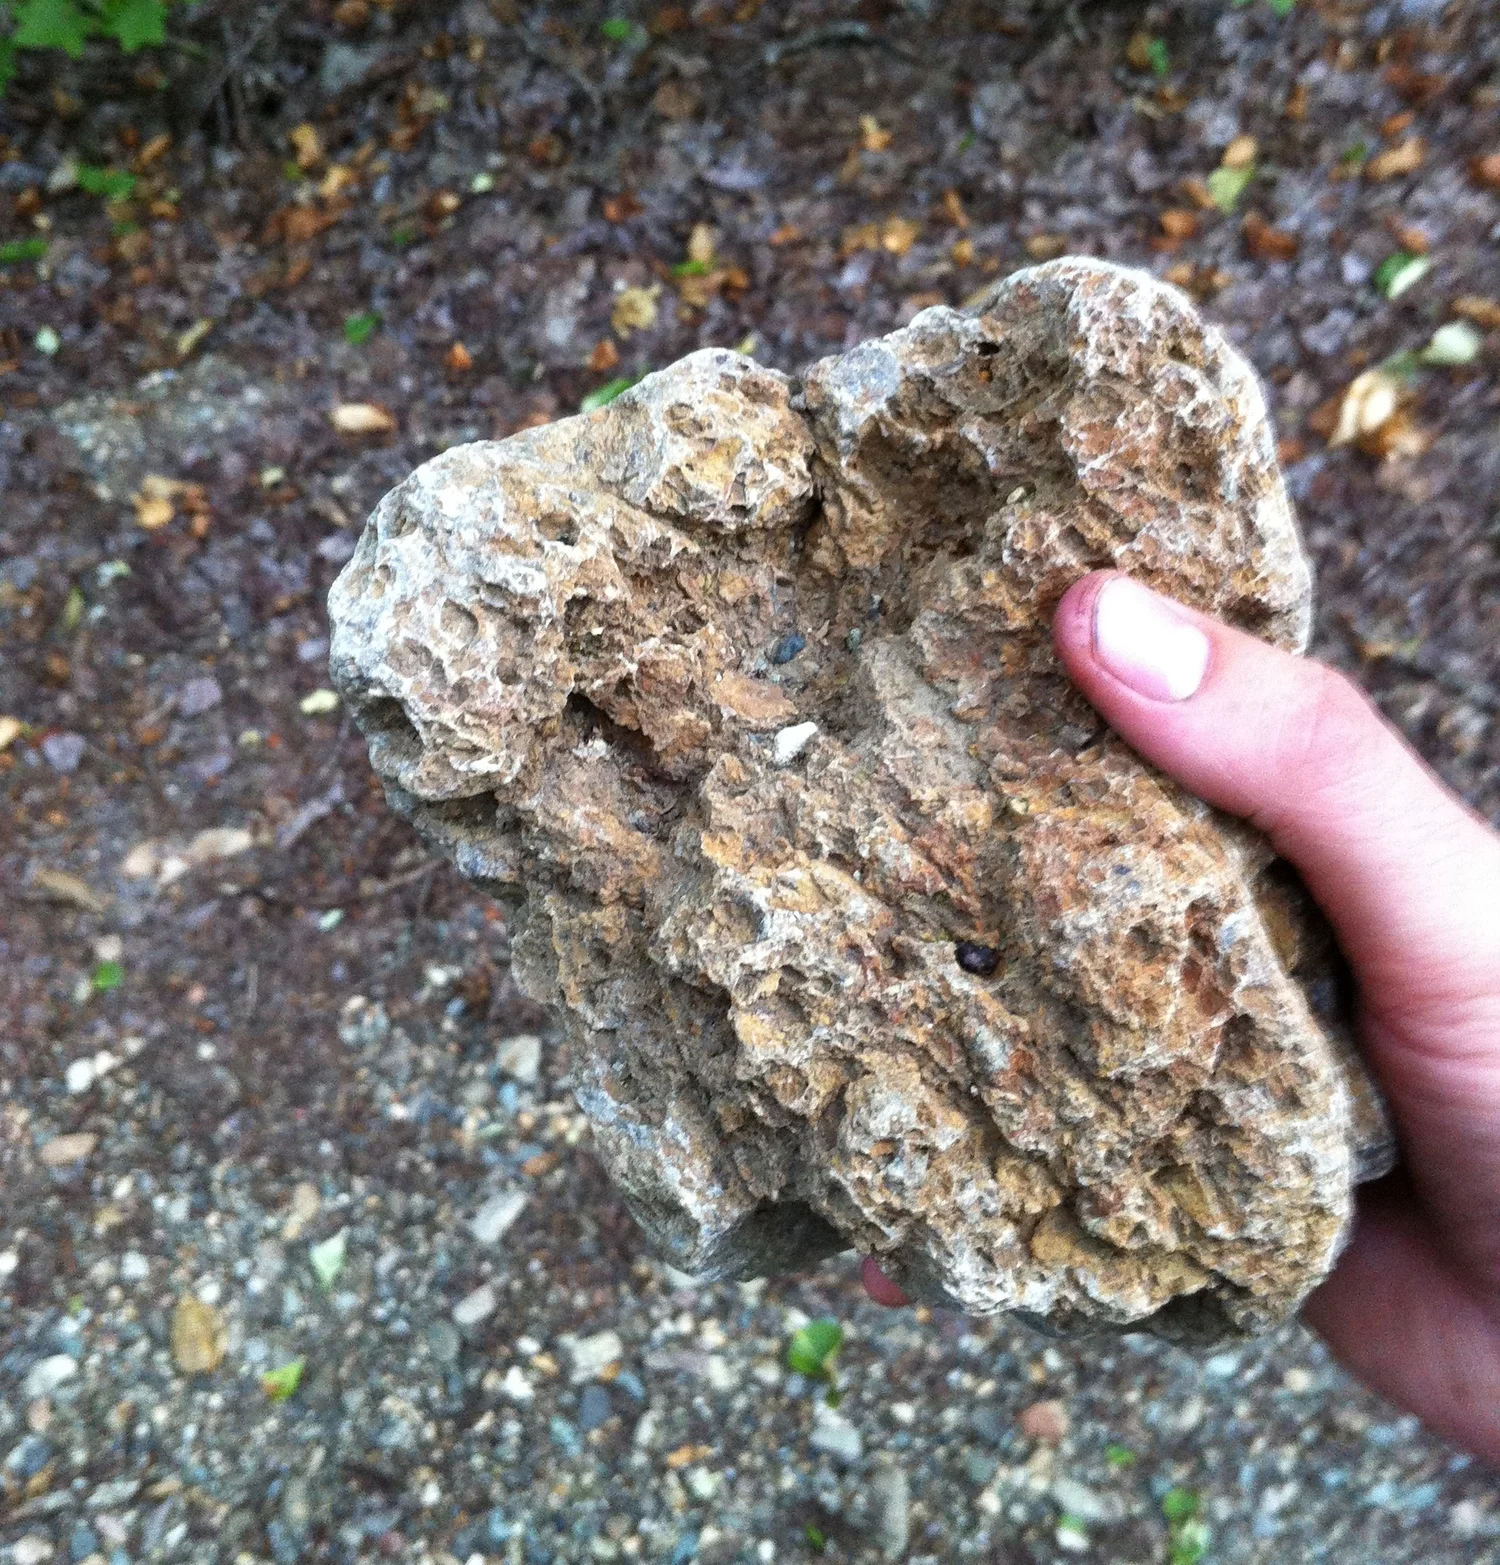
The pine sap lamp is simple and can be improvised just about anywhere there are pine trees. There are 4 items you will need: a bowl shaped rock, pine sap, moss (or something else to act as a wick), and a flame (or at least a good spark).
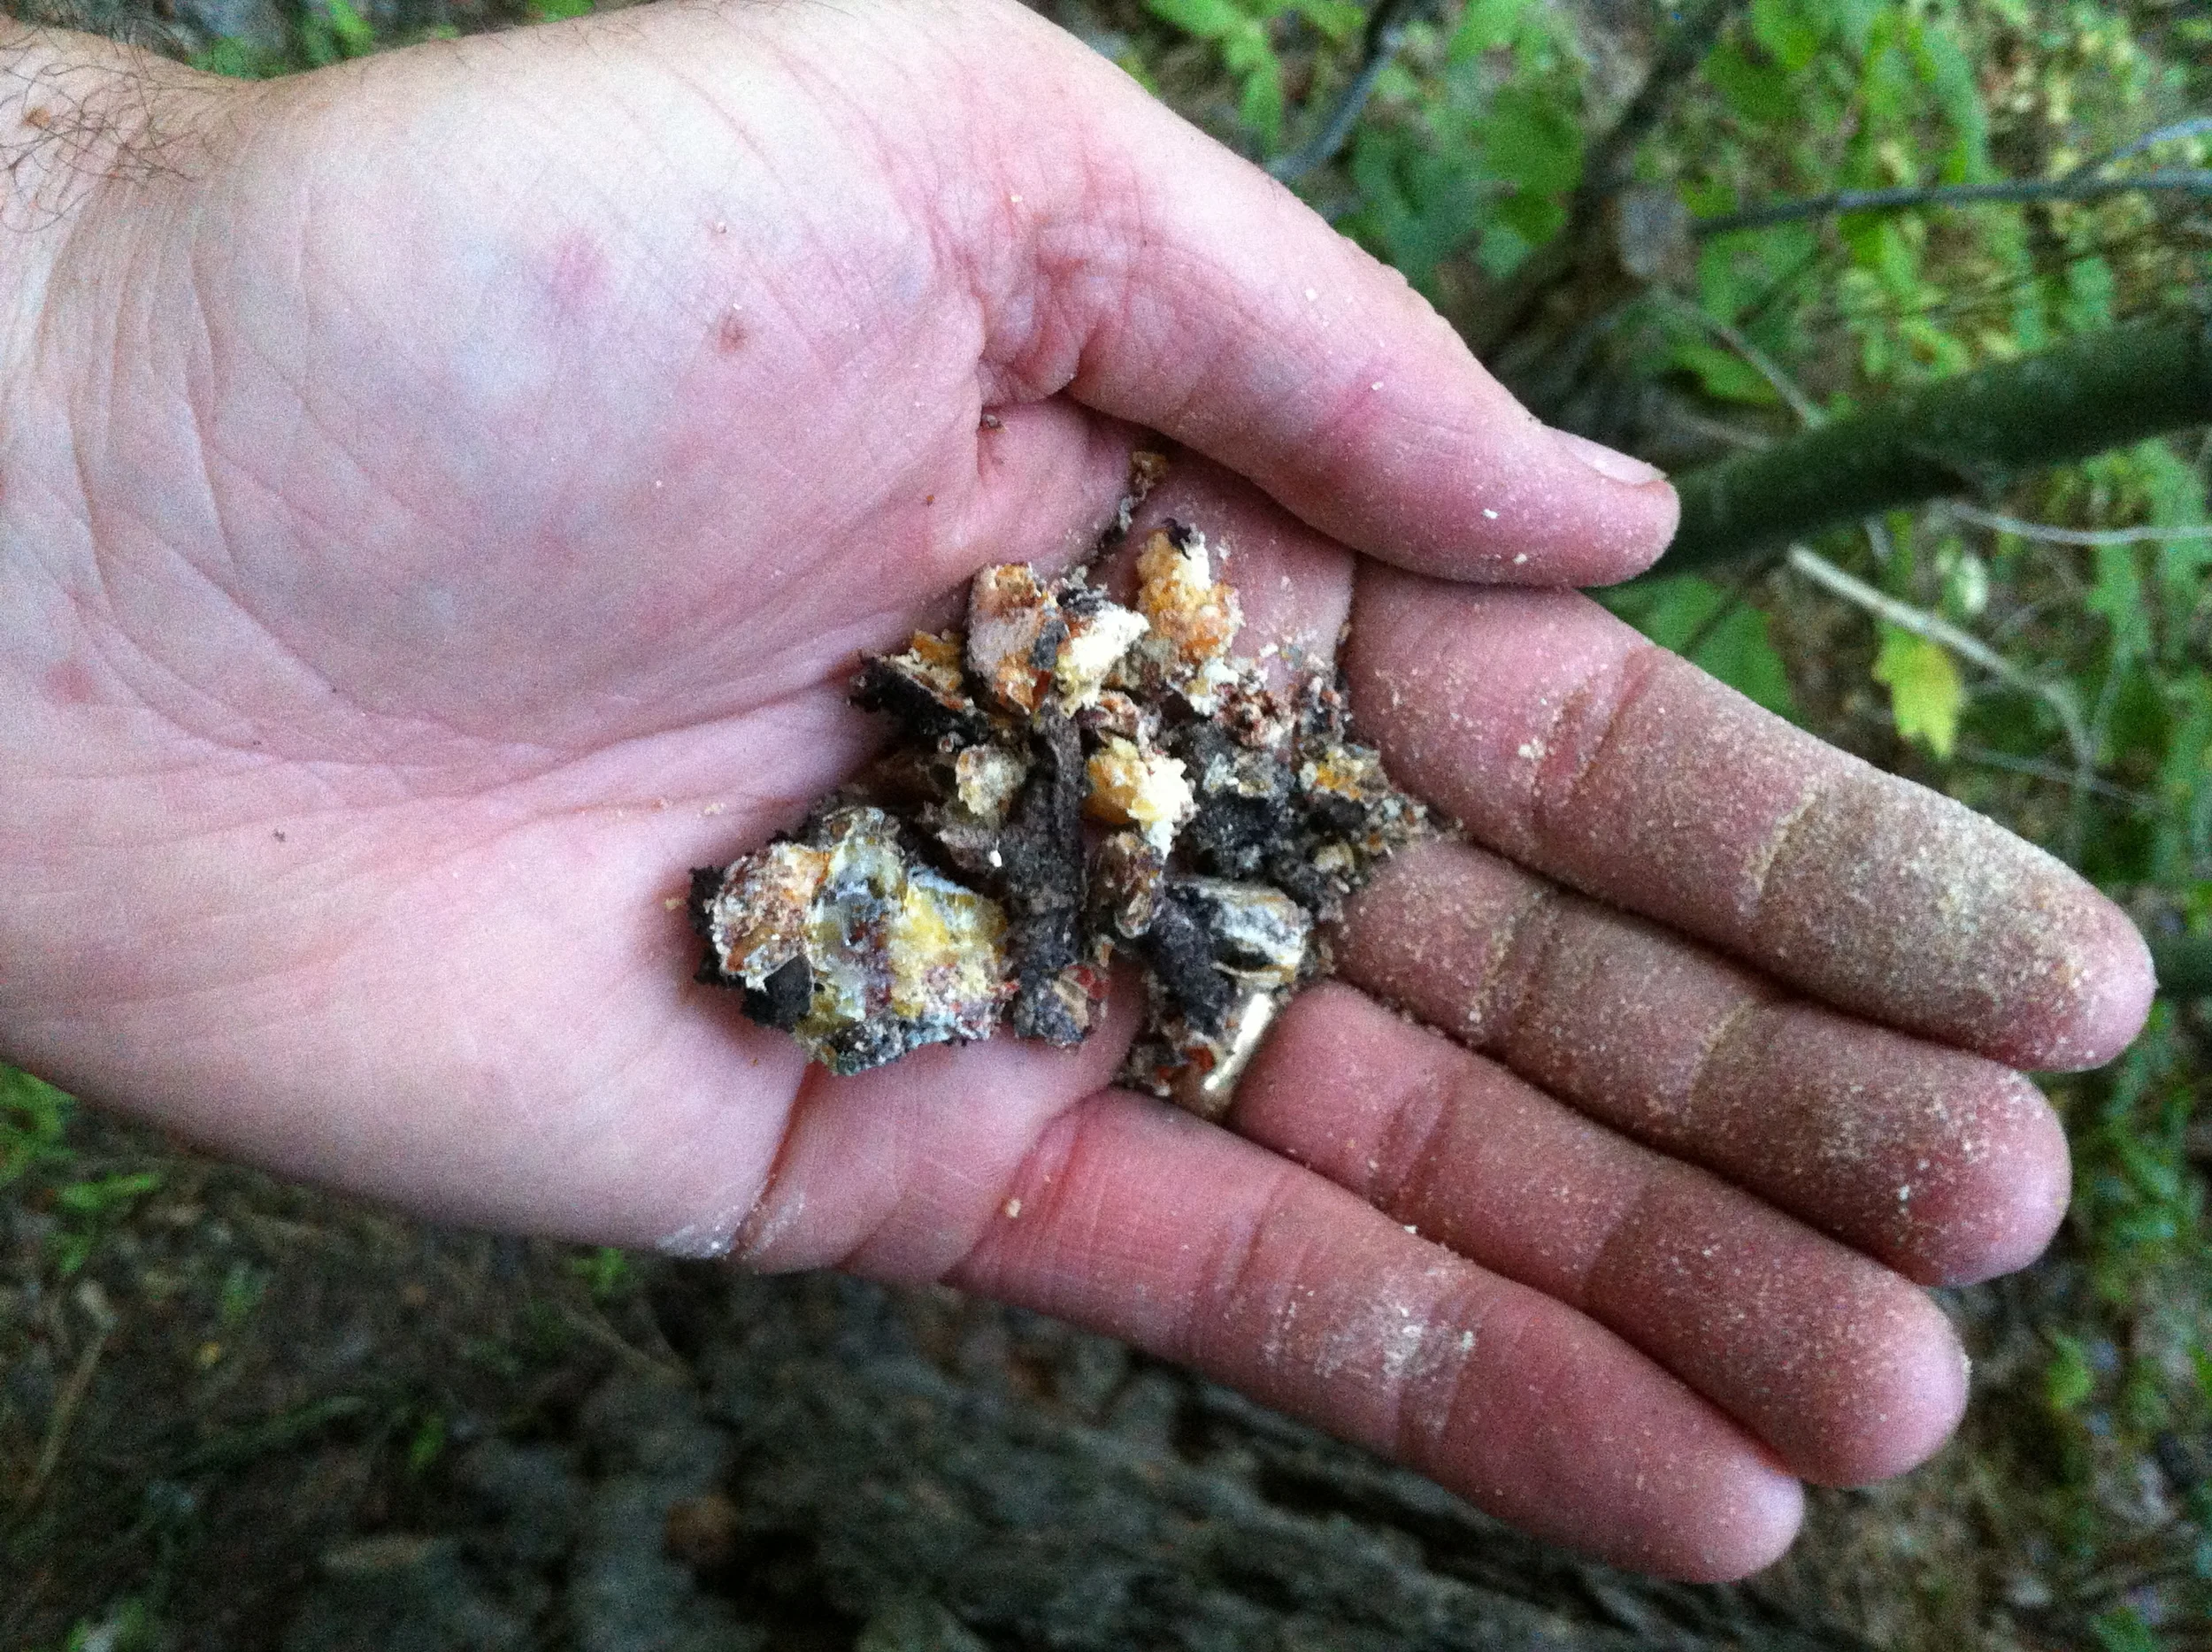
Once you have a nice rock picked out, start collecting sap. It can be old and dried out or fresh and gooey. Doesn't matter. I collected a palm full for this exercise. Don't worry if there are chunks of bark in the sap, they will melt out.
I used a piece of moss for the wick. I imagine a sturdy piece of bark or even grass would probably work. In a dire circumstance, you could cut a strip off of a bandana or a pair of jeans to use as a wick.
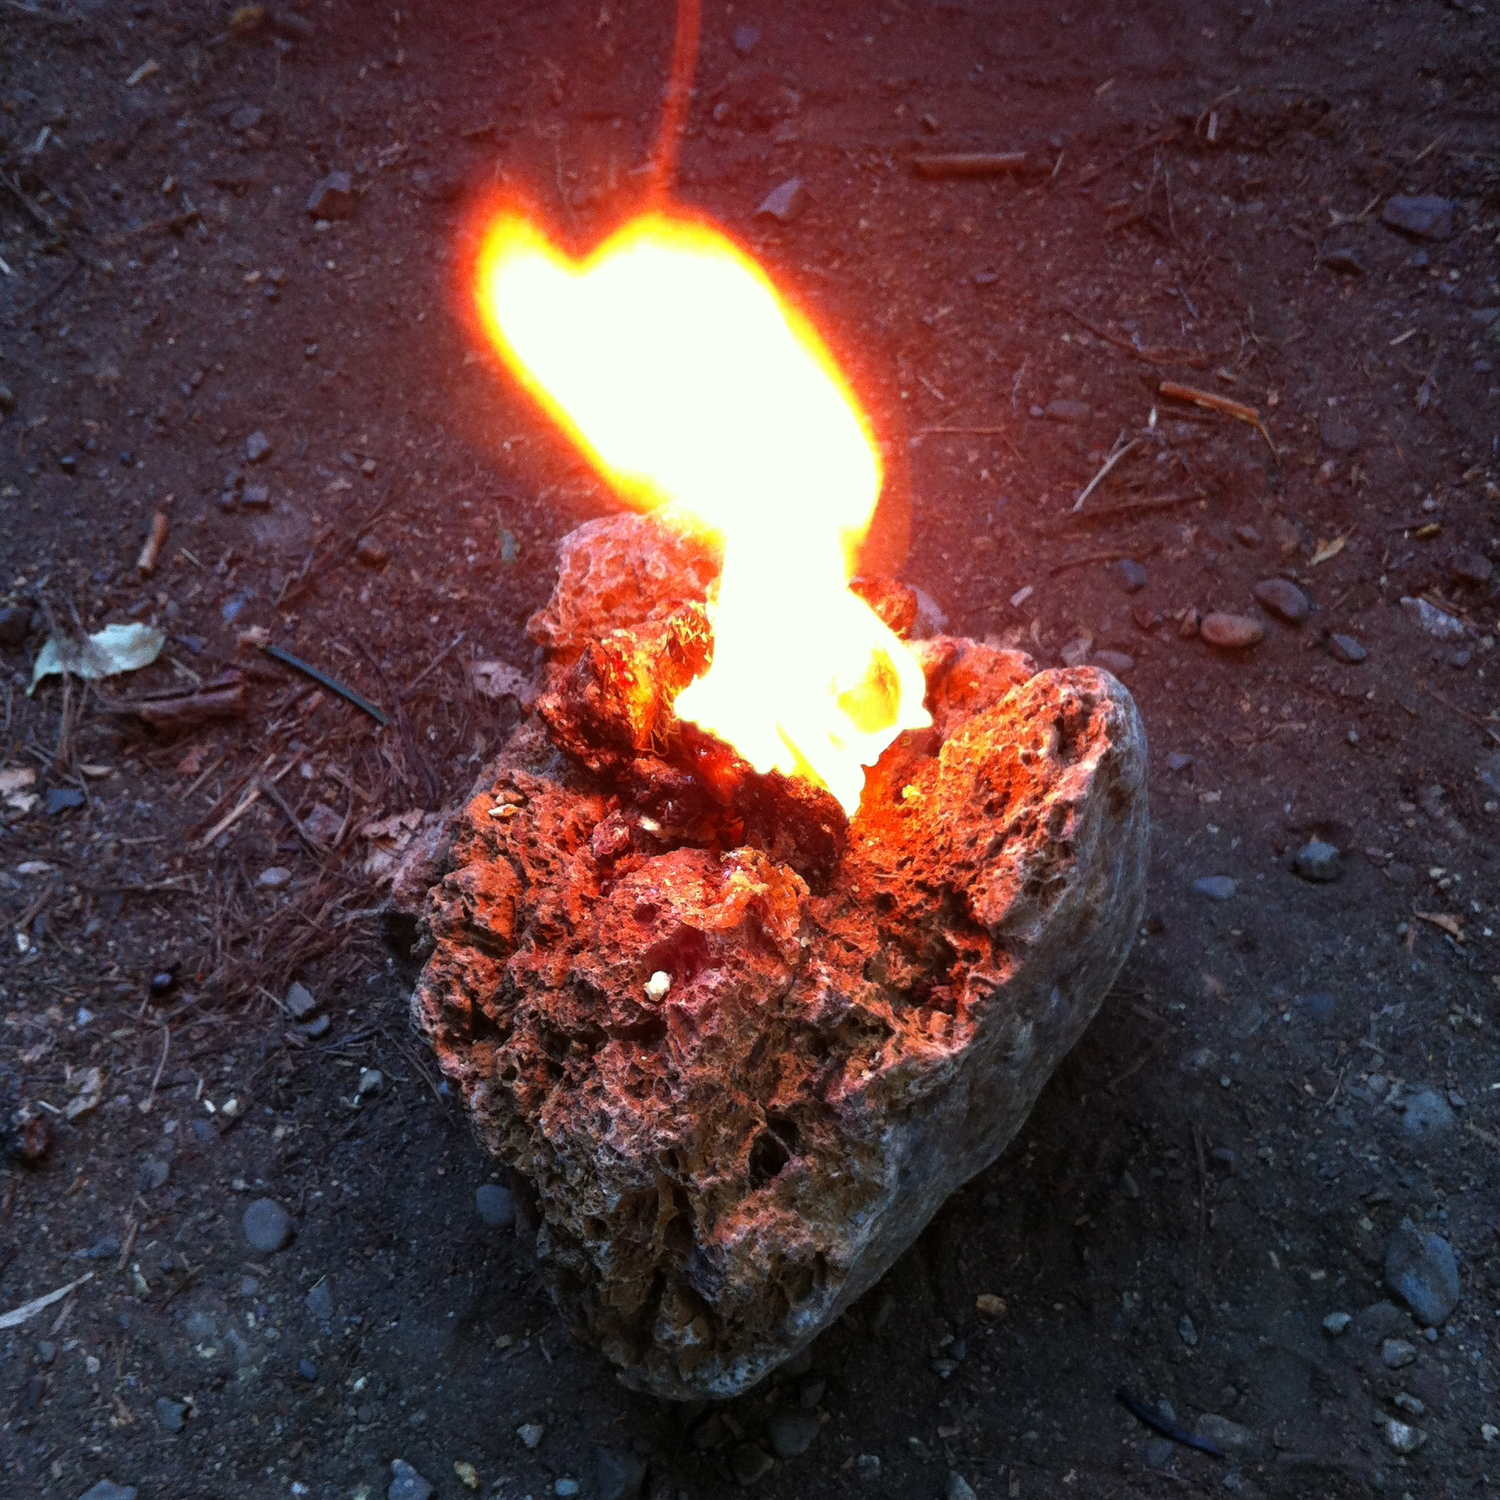
Next you put the wick in the rock and place the sap around the wick leaving just enough of the wick exposed to light. I used a ferro rod to light the moss this time.
The wick will begin to burn and heat up the sap. It eventually will make a dark pool of sap at the bottom of the rock. It will burn as long as you keep feeding it sap. This one handful burned for over half and hour! Not too shabby.
Once the sap begins to melt it will run all over the place. That's why I recommend a good deep rock. In this case it ended up pouring out the side. Once it cools you can just throw those pieces of sap back into the lamp.
It puts off heat and fair amount of light but I wouldn't recommend cooking over it. The smoke that comes off is thick and black. If you were roasting meat over this flame it would certainly take on a very unpleasant and probably unhealthy flavor. If you were to use a pot it would be blackened something fierce. But for a makeshift light and heat source, it works quite well.
This would also make an excellent base for a campfire if you are having a hard time getting a fire going in damp conditions (another Pacific Northwest specialty). Sap is by nature waterproof. If you don't believe me just try to wash sap off your hands with only water. If you can find a good pile and get it lit, it will give you a nice burn to get other, more stubborn kindling blazing.
I would love to hear about your favorite uses for pine sap.
For anyone wanting to leave an impression at a fancy Christmas and or New Year party, a bow tie is a sure fire way. Not a clip on. Not the kind that are pre-tied. The good old fashioned kind that were being tied back when men shaved with straight razors. There's something unmistakably manly about a man who can tie a bow tie. I recently came across a video produced by an authority on the matter. Enjoy.