

---------- UPDATE 3/20/17 -----------
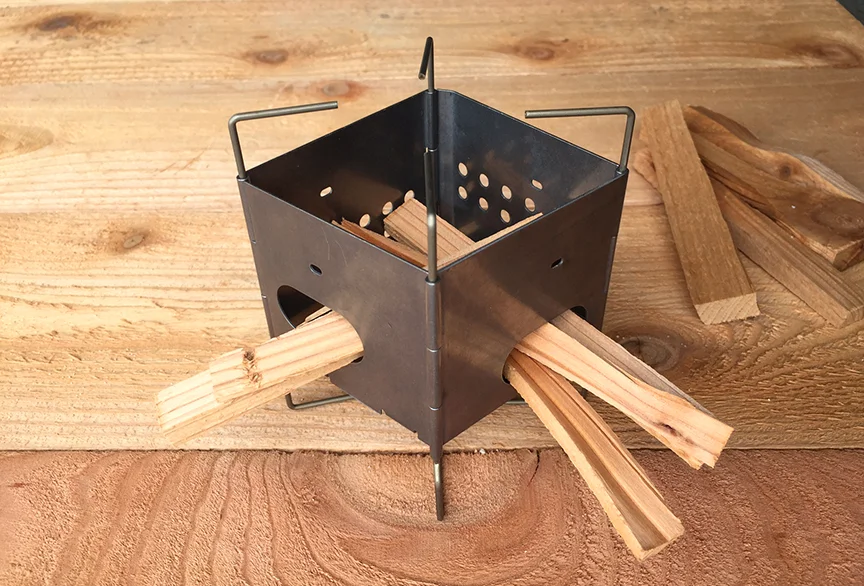
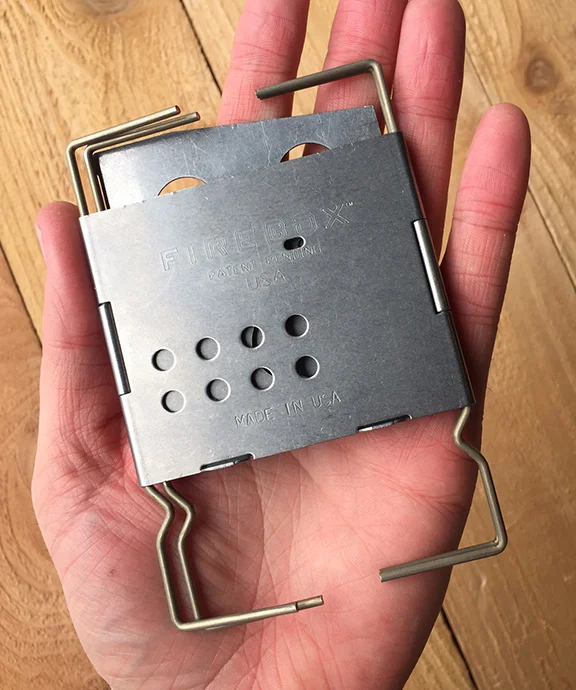
I've discovered an on the market option for wood burning backpacking stoves! The Firebox Nano 3" is amazing. It folds flat to be only 1/4" thick and weighs only 6 oz for the steel version or 4 oz for the titanium version. It can boil a cup of water in under 4 minutes and it runs on twigs! And in keeping with our brand ethos, it's made in the U.S.A. I like it so much that I've decided to over it in our shop. Click here to check it out.
Now back to the previous journal entry:
--------------------------------------------------------------
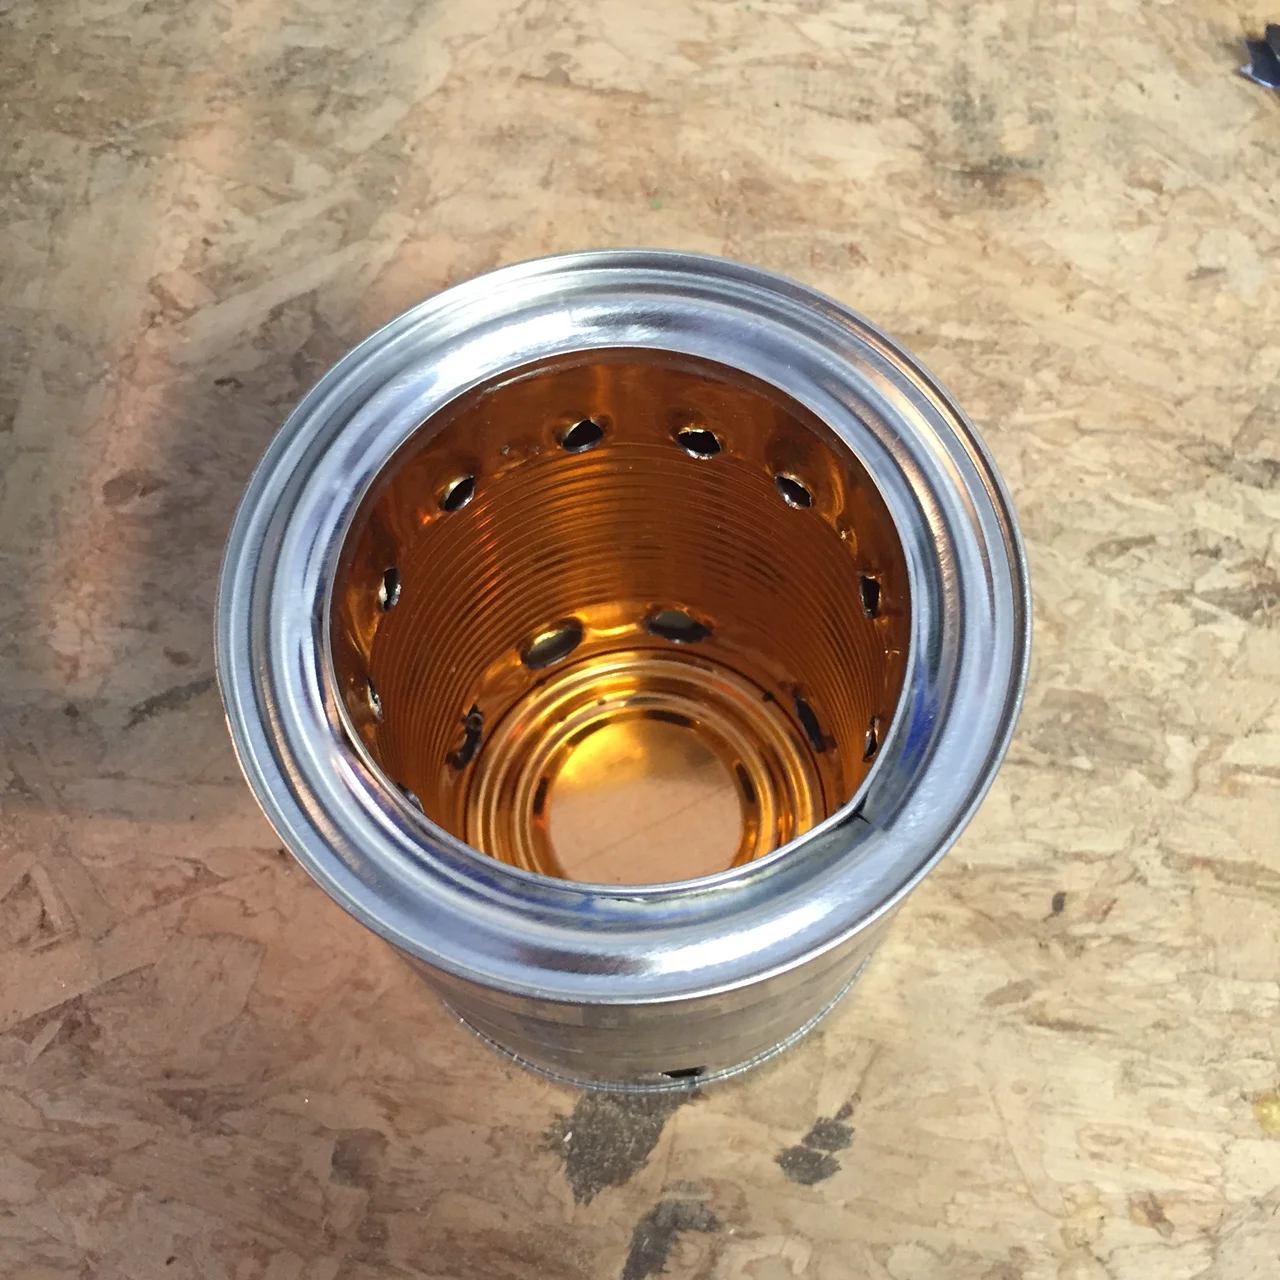
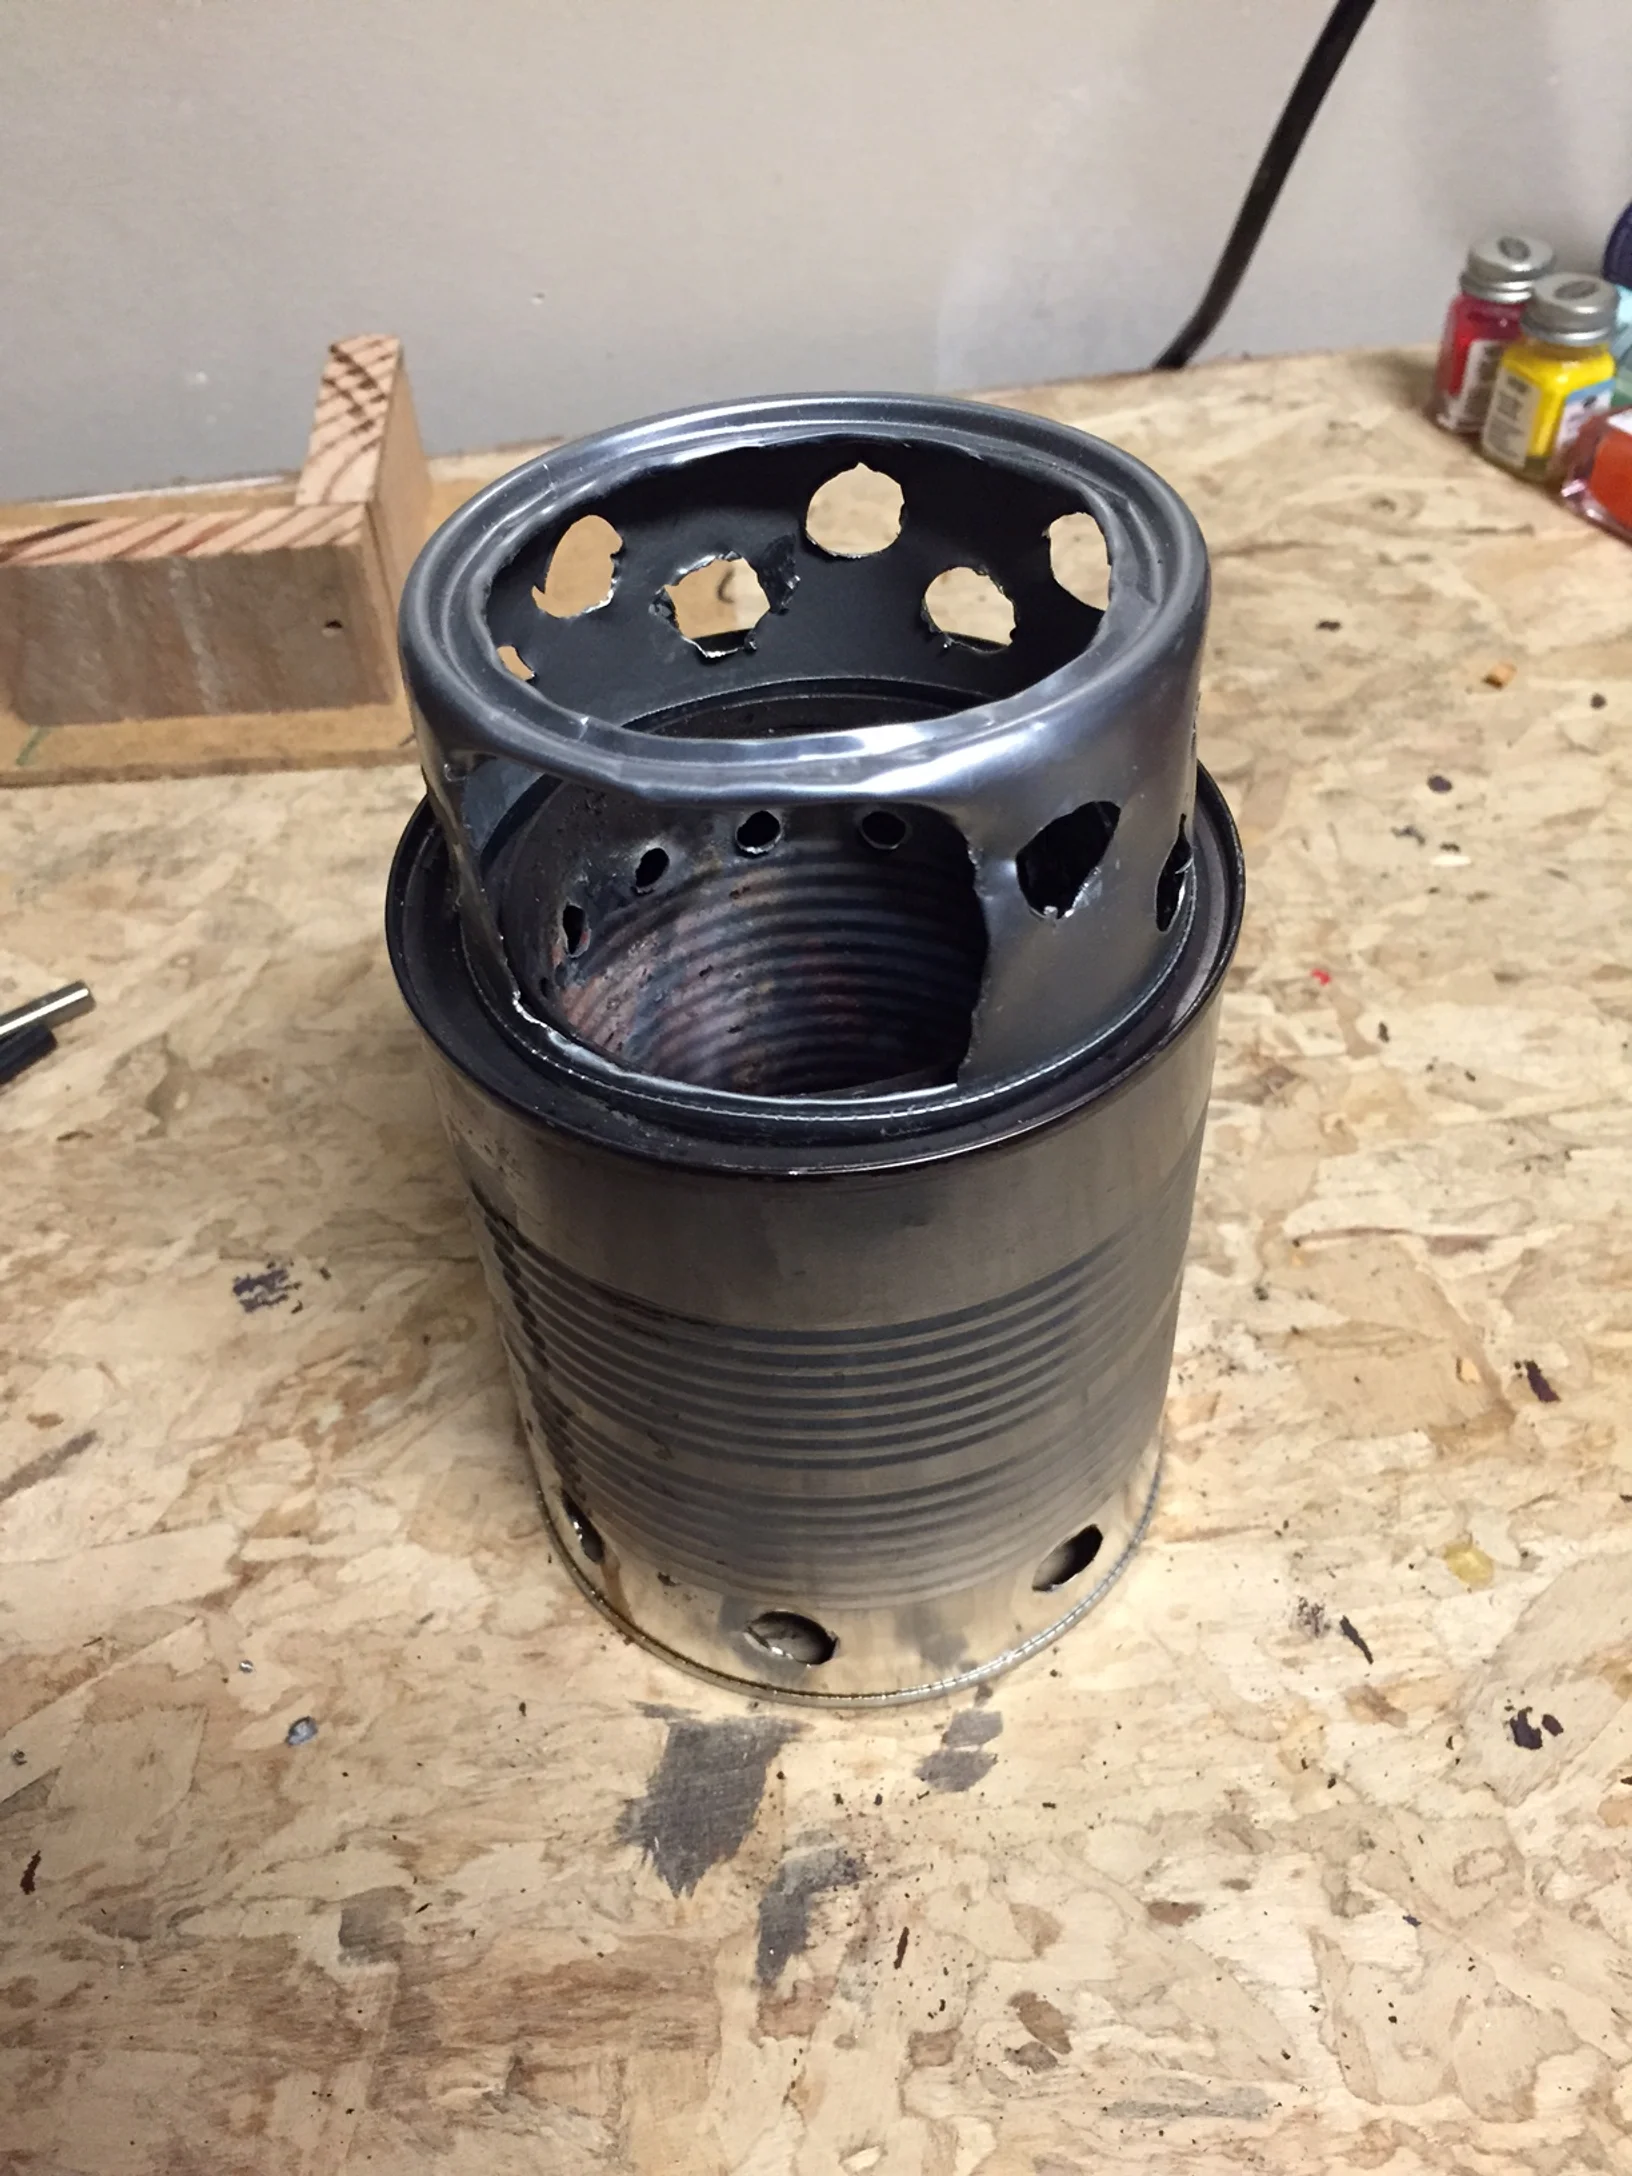
As promised, I am reporting on my wood gasifier backpacking stove build. I took a few designs and morphed them together. I have tried a couple other versions in the past that failed because I tried to scale them down too small. This time I used a standard 14.5 oz can for the inside can and a 28 oz can for the outside can. The first step is to cut a hole in the base of the larger can so the smaller can will fit inside of it snuggly. Trace the diameter of the small can on the bottom of the large can and drill small holes about 0.5" in from there all the way around the lid. Then use wire cutters to cut the space in between those holes until the center falls out. Then trim up to the line drawn about every quart of an inch to make flanges that will fold down. AFTER you get the small can drilled, it will slide through that hole and fit nice and snug. Make sure to drill it first! I'll get to that part now.
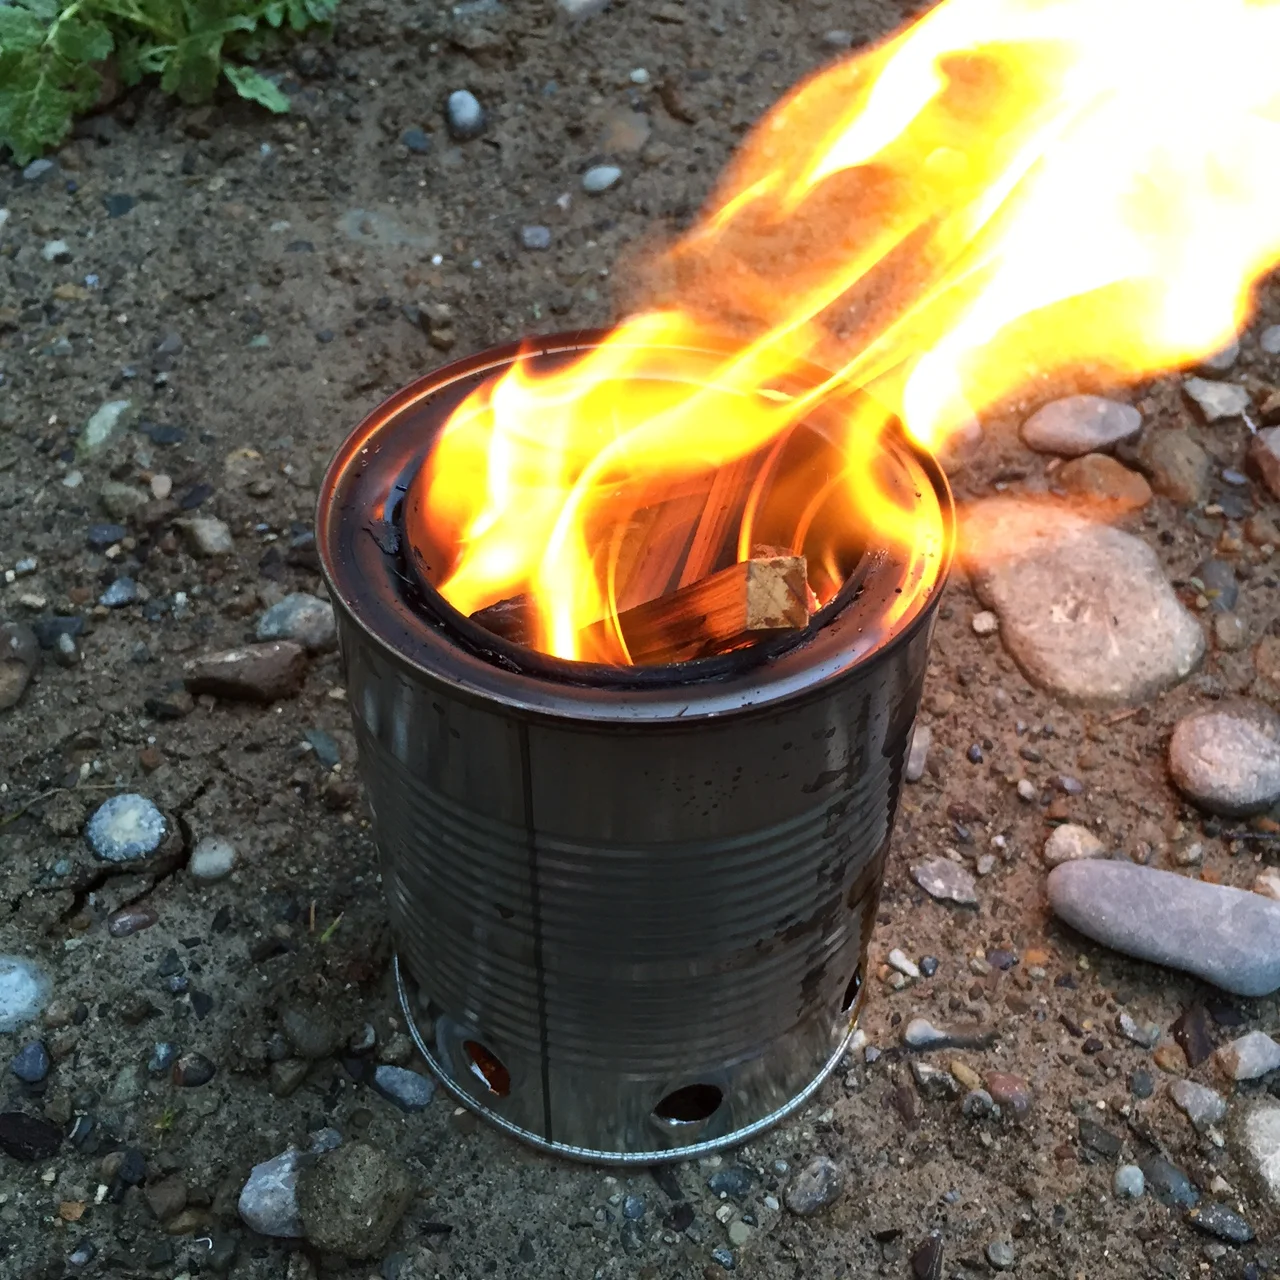
The key to getting this thing to work is airflow. I started by drilling 8 - 0.5" holes around the base of the outside can and the base of the inside can. Then drill 16 - 0.25" hole about 0.5" down from the top of the inside can. This design creates a vortex between the can and the hot gases/smoke jet back out of the smaller holes and into the flame. It ends up reburning the smoke and gases so it's very efficient and mostly smoke free. And it looks pretty cool as it burns.

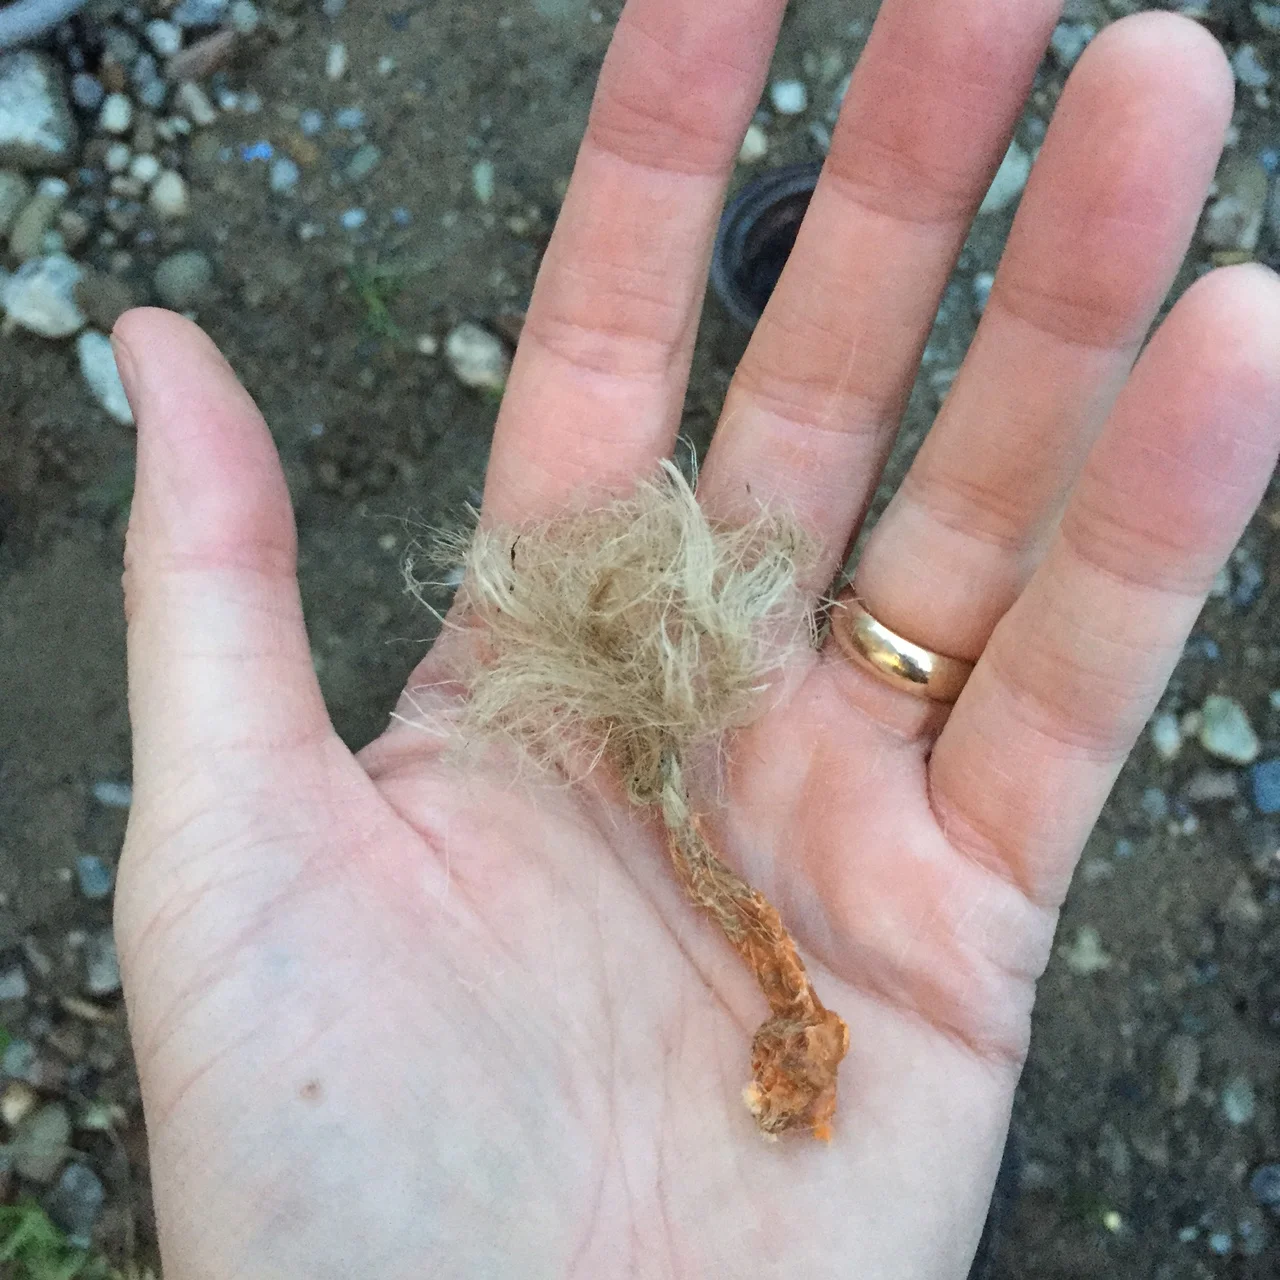
I did a couple test burns and found that it's best to load this thing backwards. Put the larger pieces in the bottom, then the smaller items, shavings and last the tinder. I used a bundle of twine fiber and a knot of twin soaked in wax. The fine fibers ignited quickly from the fire steel (This fire steel is part of a new product R&D. Don't tell anyone, it's a secret...) and the wax soaked knot burns long enough to catch the shavings under it. It ends up burning down until the larger items are all burning well. It makes for a lot less effort feeding the fire. I was using cedar and it burned pretty quickly. If you have access to it, I'd recommend hardwood chips.


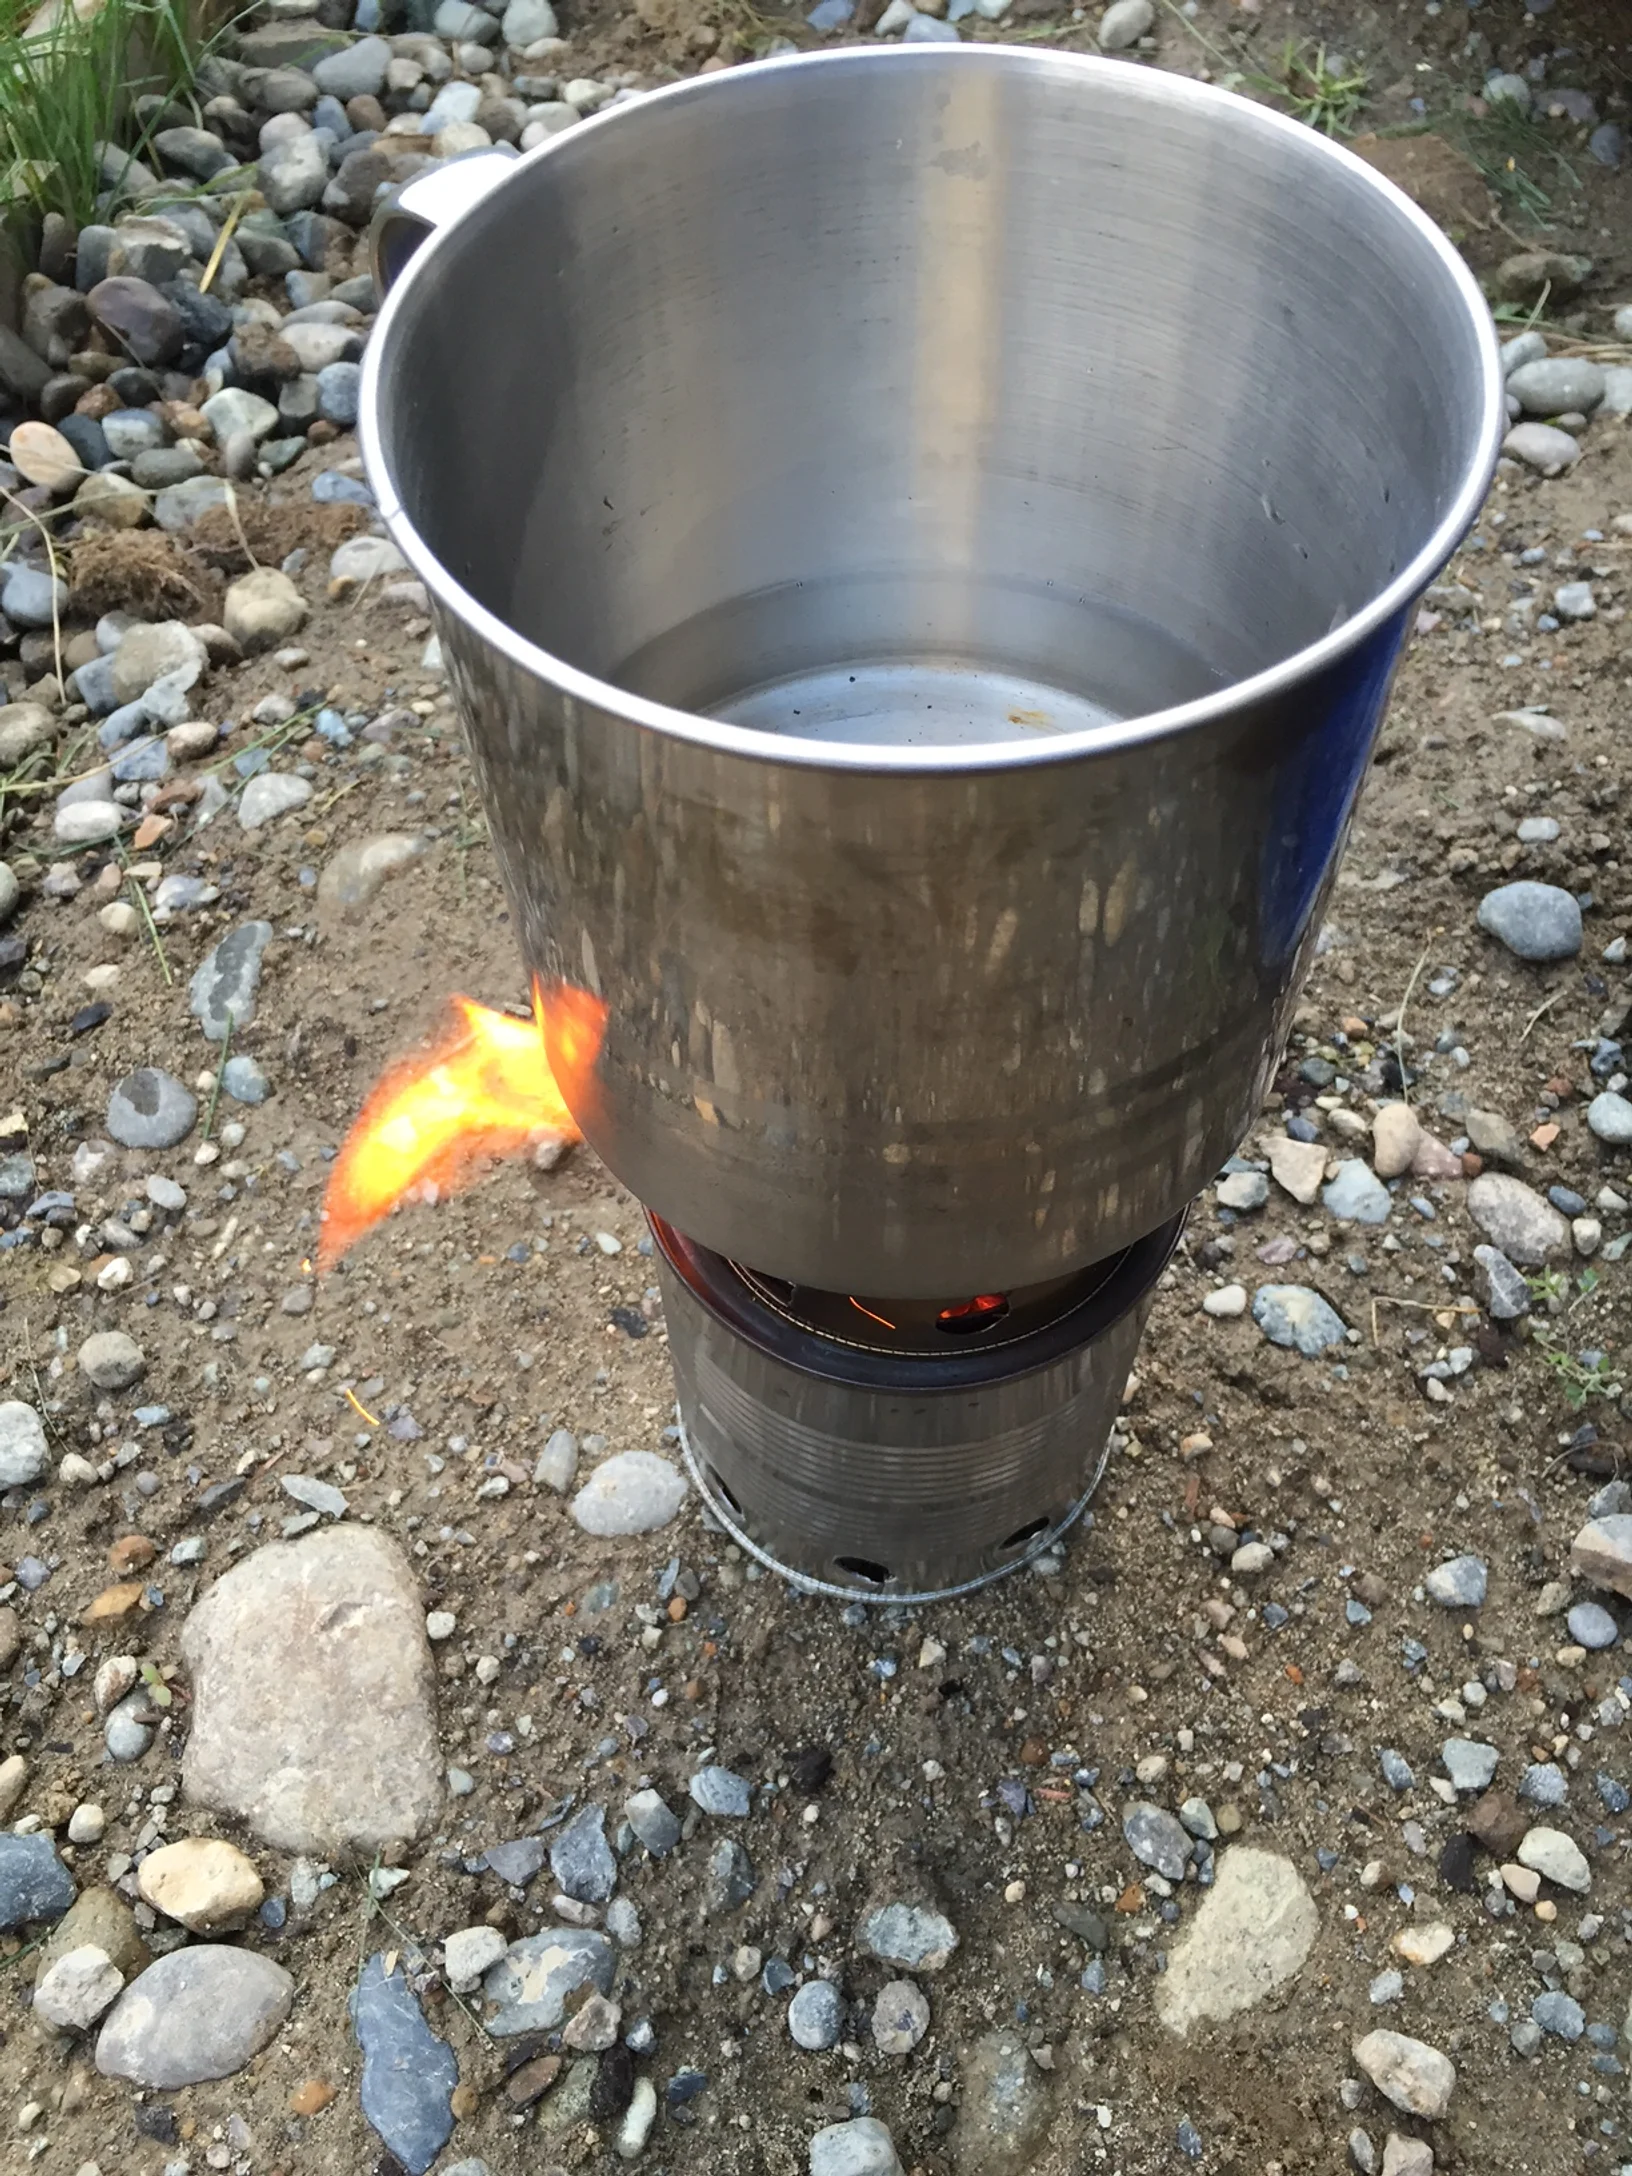
I also built a little pot stand out of a tuna can. The pot stand fits inside the bottom of the stove for storage. In my test run I could get 2 cups of water to boil in about 12 minutes. It was pretty chilly and windy that day, so I think under better conditions (and with hardwood) I could get a boil going in less time. Still not bad for what it is.


Overall I am very happy with the design. I will be taking it on my next outing and really put it through it's paces. When not in use, the stove packs up nicely and fits inside the pot I use for backpacking. Very compact and light weight.
Let me know if you've had success with a similar design.